


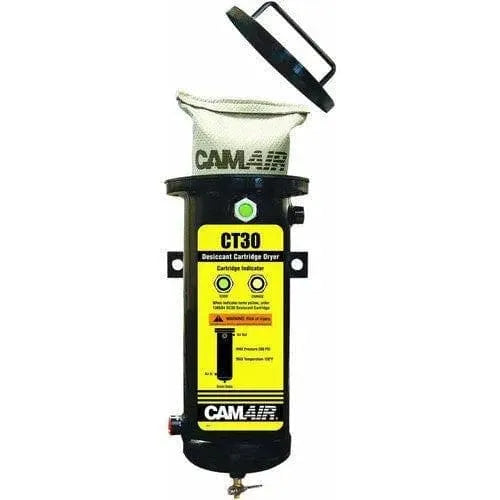
DeVilbiss CT30 Wall Mounted Air Filter And Dryer

DeVilbiss CT30 Wall Mounted Air Filter And Dryer
Couldn't load pickup availability
Checkout safely using your preferred payment method
Free Domestic Shipping $150+
In stock, ready to ship
Description
Description
Shipping information
Shipping information
-Free Ground Shipping in the lower 48 USA on orders over $150 (Not free to Alaska, Hawaii, & US territories)
-We ship both domestic (USA) as well as internationally. There are a few limitations for international orders. We cannot ship hazardous materials via air, so when it comes to paint, body filler, or other hazmat items we cannot ship it internationally or to places that require air shipping (Alazka, Hawaii, etc) .
-Multiple shipping options on non hazardous materials ( UPS, USPS, Overnight etc)
-Qualifying international orders are shipped via UPS or DHL. Most countries there are 3 day options.
-During sales or other high volume days, expect 2-5 days to process the order.
-Normal conditions, we ship same or next day. Mixed paint can take 1-3 days depending on the backlog.
Not Finding Your Color?
Not Finding Your Color?
Click HERE to search for another colorcode you don't see on our website yet! We have formulas for 75,000+ colors but don't have all of them on the website yet! This Search tool allows you to see all 75,000+ and purchase!

Build Your Own Bundle
Customers also bundle these with their order.


