Add $150.00 more for FREE shipping to the lower 48!
OPTIONALAdd Prep Materials
In stock, ready to ship
Description
This Guitar Paint Kit includes everything you need to paint your custom guitar Silver Holographic. From the primer, basecoat, and topcoats to the optional prep and masking materials – each item has been specially put together for you in one all-inclusive bundle. You simply choose the desired color, project type, finish (Matte, Satin, or Gloss), and optional add-ons. Then we handle the rest. Doesn’t get easier than this!
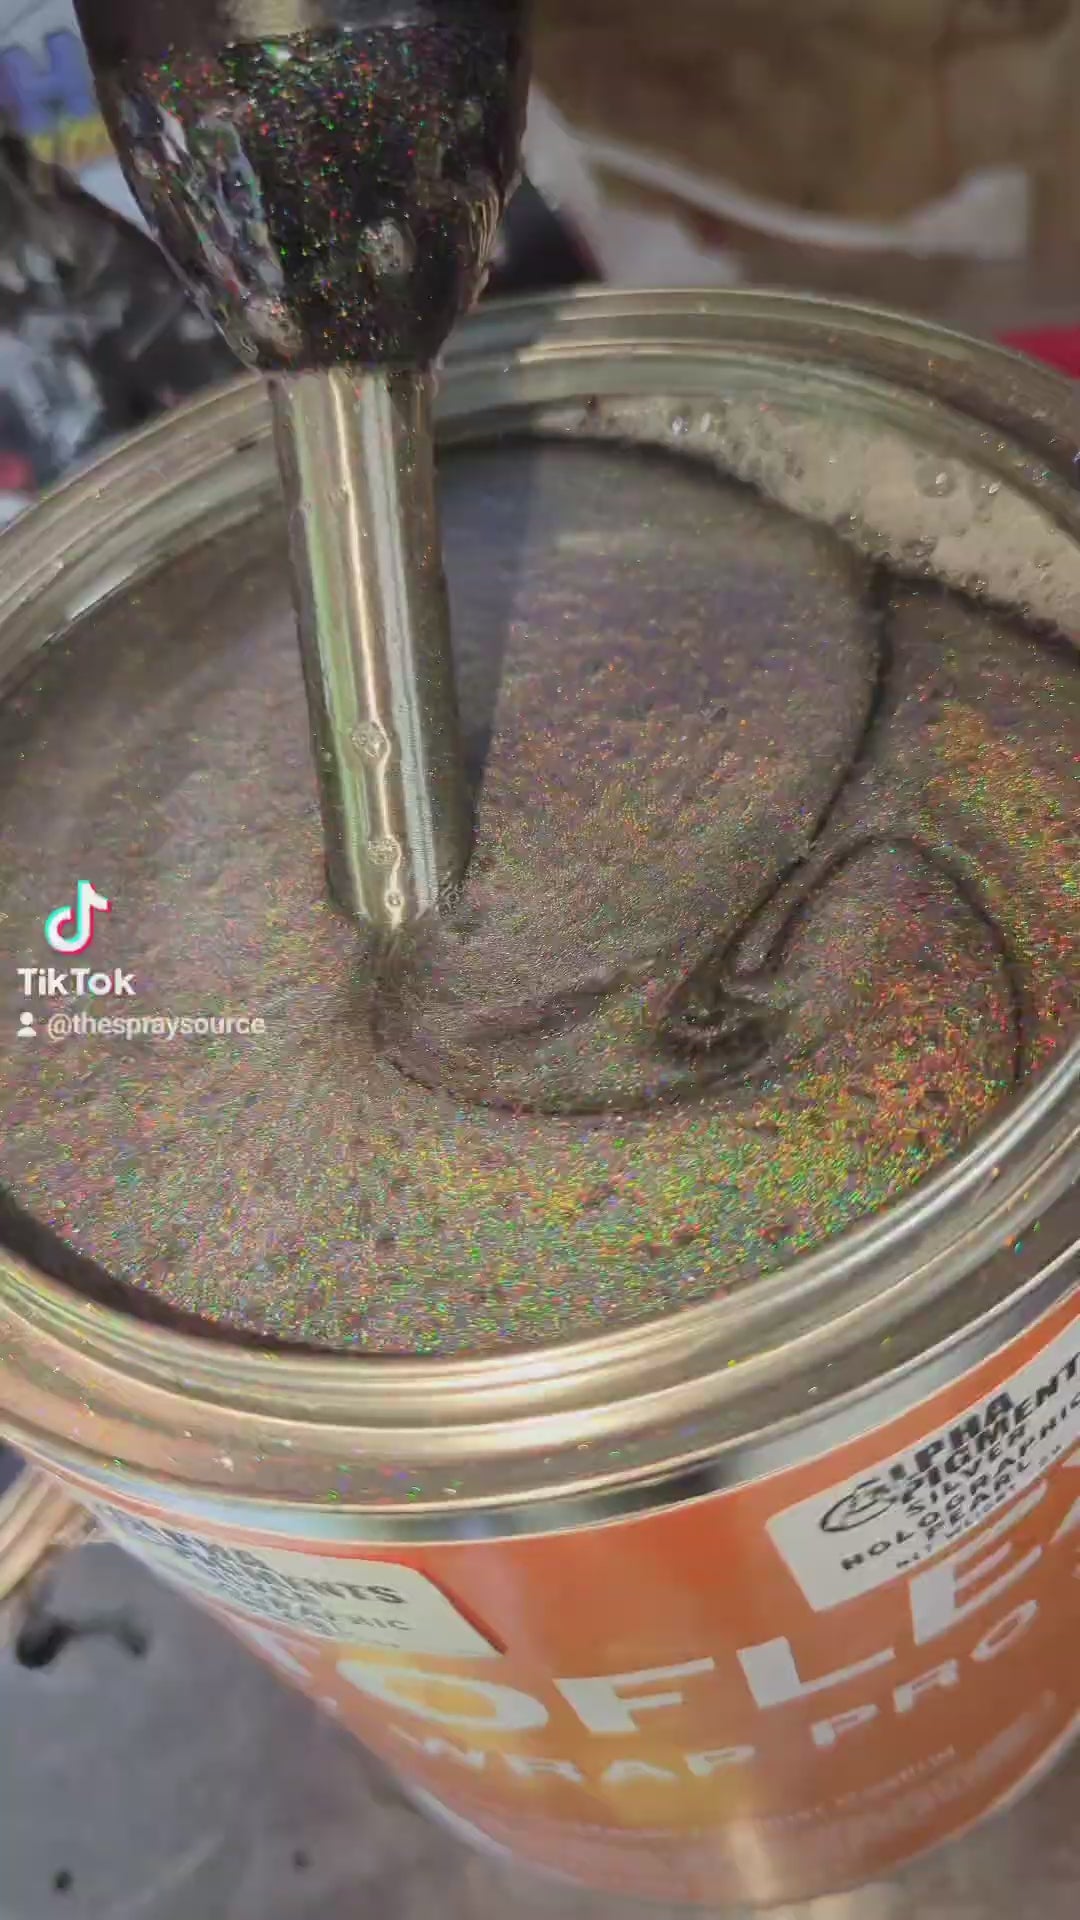
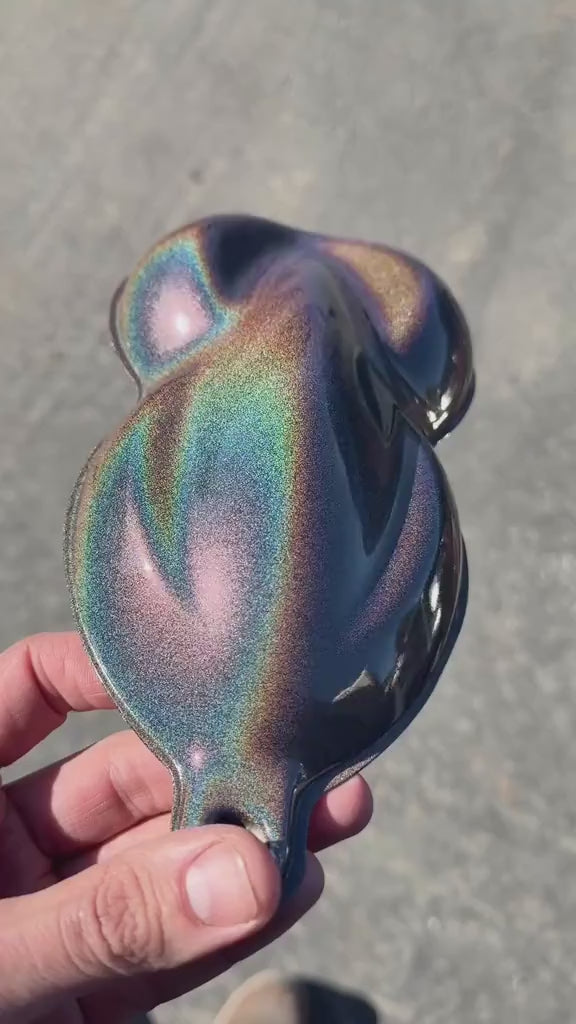
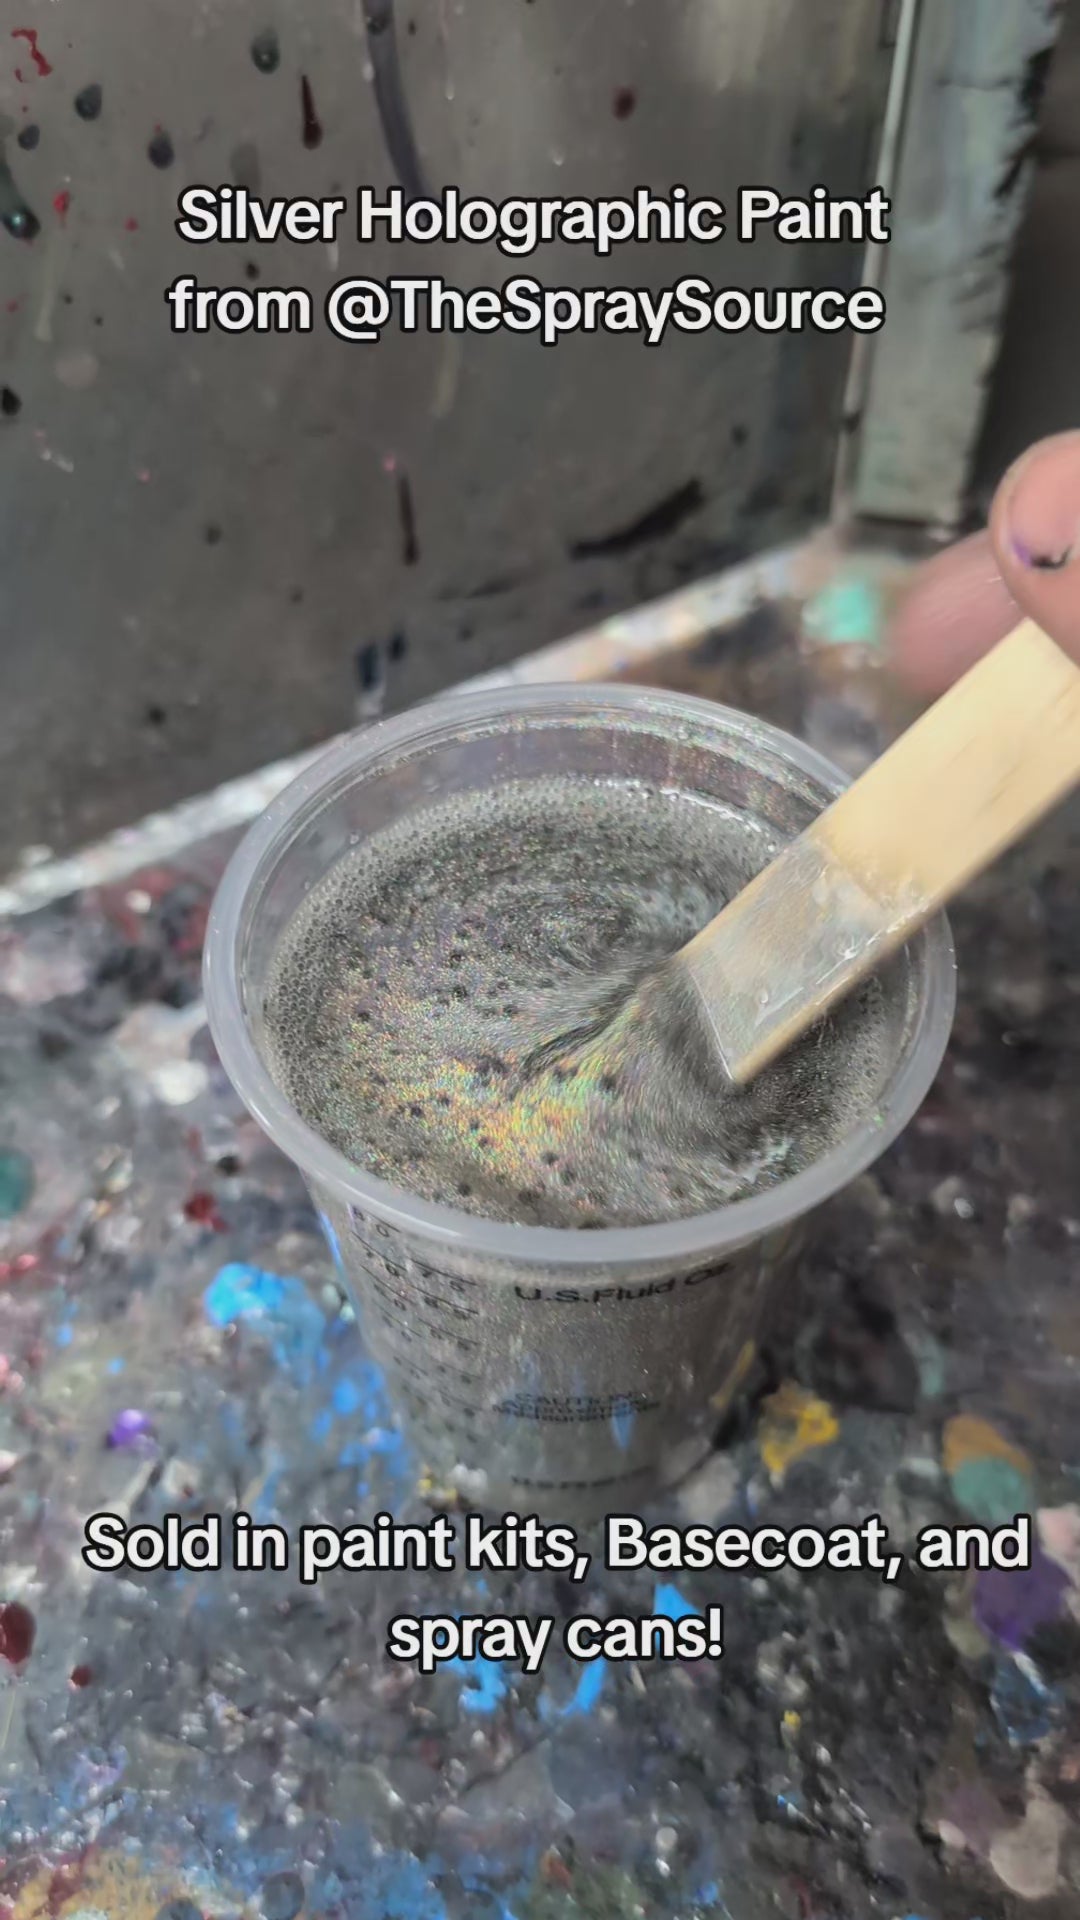
About this color: This pearl provides a holographic effect without the texture of micro flake.
Details About This Kit: This kit is for customers ready to paint their guitar. You will need a properly prepped body and neck to apply the paint. This kit does not include an unfinished body or neck.
This kit is perfect for those looking to transform their guitar with professional-grade paint and finishes.
*Failure to properly prepare and finish the guitar can result in poor paint adhesion or a less durable finish. Proper prep and sealing are highly recommended.*
Steps to using the kit:
Inspect your guitar body and neck to ensure proper sanding and prep before painting.
Wash and clean your guitar parts thoroughly to remove any dust or oils.
Scuff the entire surface you plan to paint with the included scuff pad with paste until the finish is flat and properly prepped.
Apply the included primer to create a smooth base for the paint. Allow the primer to dry thoroughly.
Shake the basecoat cans according to the label. Apply 2–4 basecoats, waiting 10 minutes or until flashed between coats, until the desired color is achieved.
Allow the basecoat to dry fully before applying 2–4 wet coats of clearcoat for a glossy, durable finish.
Wait 8 hours for the clearcoat to fully cure before handling or assembling your guitar.
✔ Includes all materials needed to paint your guitar body and neck
✔ One Guitar Paint Kit properly covers standard guitar body sizes
✔ Step by step video guides available
✔ TSS experts are available and ready to help via chat or phone!
Application & Prep
STEP 1 – CLEAN THE SURFACE
1 - Wash with soap and water, rinse, and dry completely.
2 - Degrease using wax and grease remover or isopropyl alcohol.
3 - Wipe dry with a clean, lint-free towel.
STEP 2 – SCUFF / SAND FOR ADHESION
If Raw Plastic / Polyurethane: Evenly scuff bare plastic or raw surfaces. These will also need to be adhesion promoted prior to paint using our WolfBite Adhesion promoter.
If Good Condition OEM Paint: Sand smooth or glossy paint with P320-P400 grit sand paper or Scuff Pad until uniformly dull with no glossy areas.
If Surface Needs Bodywork or heavy scratches removed: Sand the damaged areas with 180 grit (feathered out into the panel) then do your bodywork. Finish in 220 Grit sanding. Then spot prime with high build primer - fading the primer out into the rest of the sanded panel covering the bodywork and any 220 grit scratches. (the good condition areas of the panel should have been sanded in 320-400 or scuff pad). Lastly, after the high build primer is dry and ready to be sanded (check tds for timeline), sand with 320-400 to match the rest of the panel.
After The above prep: Remove dust with compressed air or a clean microfiber towel.
STEP 3 – FINAL WIPE & TACK
1 - Wipe the surface again with isopropyl alcohol or wax and grease remover.
2 - Allow solvents to fully evaporate.
3 - Lightly wipe with a tack cloth immediately before spraying. Do not press hard. (optional but great step)
STEP 4 – SET UP YOUR SPRAY AREA
1 - Use a well-ventilated, well-lit area with good extraction fans
2 - Ideal conditions are 65–75°F (18–24°C) with 40–60% relative humidity.
3 - Keep the area free of open flames, sparks, or ignition sources.
4 - Wet the floor if your space allows to keep dust down
5 - Cover any items or areas in your space that you do not want to get overspray on
STEP 5 – PERSONAL PROTECTION
1 - Wear a respirator rated for organic or solvent vapors.
2 - Use nitrile gloves and safety goggles.
3 - Wear a paint suit
STEP 6 – SHAKE THE CAN
1 - Shake vigorously for 45–60 seconds.
2 - Invert the can several times while shaking to fully mix pigments and metallics.
STEP 7 – TEST SPRAY
ALWAYS DO A TEST SPRAY + SPRAY OUT CARD IF DOING OEM SPOT JOBS
1 - Spray on cardboard or a scrap panel.
2 - Confirm even spray pattern, correct color, and proper atomization.
3 - Adjust the spray can's nozzle to match your spray style or surface.
4 - If the can is not operating correctly, remove the cap completely, reseat it on the can, and twise the entire nozzle 360 degrees. Since our cans are made to order, sometimes there is slight paint build up and reseating the nozzle corrects this.
STEP 8 – SPRAYING TECHNIQUE
1 - Hold the can 5–6 inches from the surface.
2 - Keep the can perpendicular, 90 degrees to the panel at all times.
3 - Move at a steady speed using smooth, even passes. You are looking for medium wet coats NOT super wet, pooling coats.
4 - Overlap each pass by 50 percent.
STEP 9 – TRIGGER CONTROL
1 - Begin moving before pulling the trigger. Start off of the panel then move onto the panel. This avoids build up on edges.
2 - Fully depress the trigger while spraying.
3 - Release the trigger completely at the end of each pass.
4 - Stop spraying after clearing the panel edge by an inch.
STEP 10 – COATS & FLASH TIMES
1k Primer/Sealer
1 - Spray a medium wet coat on the entire panel (if not blending oem paint) to achieve a 75% coverage. This fills in the sanding scratches as well as gives a uniform , required ground coat color for the next steps.
2- Allow to flash dry for 5-15 minutes. Time depends on the product and environment.
3 - Apply the second medium-wet coat to achieve full coverage
4 - Allow to dry for 30 minutes or until the wet look fades so a dull, even finish and is completely dry to the touch.
GROUNDCOATS or SOLID COLORS (BEFORE MIDCOATS IF APPLICABLE)
This is for our Base Black, OEM Undercoats or solid colored basecoats. Not all projects require this step.
1 - Apply the first medium-wet coat at approximately 75 percent coverage.
2 - Allow to flash 5-15 minutes or until the wet look fades so a dull, even finish. Time depends on the product and environment.
3 - Apply the second medium-wet coat to achieve full coverage
4 - Allow to flash 5-15 minutes or until the wet look fades so a dull, even finish. Time depends on the product and environment.
5 - Apply a Third medium wet coat if the color is not 100% covered and even at this point. This will vary based on the color and product being sprayed.
4 - Flash another 15-30 minutes. Until the surface is even, dull, an dry to the touch.
MIDCOAT , CUSTOM COLORS , OR METALLIC/ PEARL OEM
This is for coverage over required groundcoats , not "ghost effect"
1 - Apply medium coats over the required groundcoat for your color.
2 - Flash 5–15 minutes between coats or until tack-free.
3 - Apply additional coats until the desired color depth is achieved. Most custom and oem colors require 2-4 medium coats - check color description or compare to existing oem panels
4 - Apply 1 light "control" coat to make sure all of the pearl or metallic is even and not splotchy or "tiger striped"
5 - Wait 30 mins or 15 mins after the surface is completely dull and dry to the touch before moving on to topcoat step.
EFFECT PEARL / COLORSHIFT COAT
This is for effect over light groundcoats (not for coverage)
1 - Apply one light effect coat at approximately 25 percent coverage.
2 - Allow 5-15mins for the coat to flash before adding another light coat (if you want to add more effect)
Repeat as many times to your preference of effect and coverage.
3 - Wait 30 mins or 15 mins after the surface is completely dull and dry to the touch before moving on to topcoat step.
STEP 11 – CLEANUP & STORAGE
CAP CLEARING
1 - Turn the can upside down after spraying.
2 - Spray until only clear propellant comes out.
3 - This clears paint from the valve and prevents clogging.
NOZZLE CARE
1 - Remove the spray nozzle after use.
2 - Wipe clean with solvent.
3 - Do not soak the nozzle in solvent.
STORAGE
1 - Store cans upright in a cool, dry place.
2 - Keep away from direct sunlight.
3 - Avoid freezing conditions.
4 - Do not store above 120°F (49°C).
QUICK TROUBLESHOOTING
1 - Dry or rough texture means the can is too far away or moving too fast.
2 - Runs or sags mean the can is too close or moving too slowly.
3 - Continue to shake and agitate the can between coats- Repeat step 6
4 - If ever unsure the color is 100% covered (and you are going for coverage) - one extra coat is always a good idea.
Preparing your kit…Loading your color and kit components
Looking for a different color?
Search our Alpha custom colors — every match builds this same kit.
Looking for a custom color — a candy, pearl, or colorshift?
Saw one of our colors on TikTok, Instagram, or Facebook? They’re all right here.
Search by Vehicle
or
Search by Code
Trending:
Shop by Color
Shop by Make
Search Results
Review & Confirm Your Selections
Paint Kit
Clearcoat finish
🎨Your Paint Kit0 items
OptionalAdd Prep Materials
$21.99
High Build Primer Spray Can 1k
-
0
+
$29.99
WolfBite Adhesion Promoter Spray Can
-
0
+
$44.99
Complete Prep Kit - Small Projects
-
0
+
$9.99
Automotive Masking Drop Film Tape & Drape
-
0
+
$92.99
Light Bodywork Bundle
-
0
+
$6.25
Q1 Premium Yellow Masking Tape 1.5"
-
0
+
$2.00
Scuff Pad
-
0
+
$44.99
Complete Prep Kit - Small Projects
-
0
+
$6.25
Q1 Premium Yellow Masking Tape 1.5"
-
0
+
$3.50
Q1 Premium Yellow Masking Tape .75"
-
0
+
$9.99
Automotive Masking Drop Film Tape & Drape
-
0
+
$30.99
Q1 Premium Foam Masking Tape 13mm x 50m
-
0
+
$30.99
Q1 Premium Foam Masking Tape 13mm x 50m
-
0
+
$30.99
Q1 Premium Foam Masking Tape 13mm x 50m
-
0
+
$2.00
Scuff Pad
-
0
+
$2.00
Scuff Pad
-
0
+
$2.00
Scuff Pad
-
0
+
$92.99
Light Bodywork Bundle
-
0
+
$92.99
Light Bodywork Bundle
-
0
+
$92.99
Light Bodywork Bundle
-
0
+
$92.99
Light Bodywork Bundle
-
0
+
See Them In Action
What Makes Our Spray Cans Different!
Real automotive paint · Ready to spray
Guitar Paint Kits
Factory-match or full custom color — every kit ships with the paint, clear, and supplies you need. No spray gun required.
How It Works
Step 1
Pick Your Color
Search a code or browse thousands
Step 2
We Mix & Kit It
Mixed fresh, boxed complete
Step 3
Spray It
Ready to go — no gun needed
BeforeAfter
Why TSS Paint Kits
150,000+ Color Options
From high-end custom candies, pearls & colorshifts to factory OEM color-code matching — build any look you want.
Everything Included
Color, clearcoat, and all the prep & masking supplies.
Made To Order
Mixed fresh for your color when you order.
Real 2K Automotive Paint
The same pro-grade system body shops spray.
Paint Kit FAQ
How soon does my kit ship?
Every kit is mixed fresh when you order, so most ship within a few business days — and you'll get tracking the moment it's on the way.
Do I need a spray gun or compressor?
No — these kits are built around aerosol spray cans, so you get pro 2K automotive results with nothing extra to buy, rent, or clean up.
Do I need to buy clearcoat separately?
No — the matching clearcoat is already in the kit, along with the prep and masking supplies. Everything you need is in one box.
What surface prep do I need to do?
A clean, scuffed, and masked surface is the key to a great finish. Your kit includes the masking supplies, and our step-by-step guides walk you through the prep.
Can I reorder to match later?
Yes. We mix to the color code and save custom formulas, so you can order a matching kit or a touch-up down the road.
What if I can't find my color?
Use the “Not finding your color?” button and a real painter will help track it down or build a custom match for you.
Recently viewed
Customer Reviews
Overall rating: 5.0 / 5 from 20 reviews.
Turned out great I just for got to paint the grill for my truck and I have no more flake. It would totally awesome if yall could hook me up with enough to finish that if you can't I understand but if you could you would have a die hard customer for life , thanks guys
Store owner replied:
Thank you for the feedback, Joshua. Wow, your project turned out amazing! It’s great to hear the Silver Holographic flake worked out so well for your truck. We’re happy it turned out great on your truck, and we really appreciate you sharing your results! You may also want to take advantage of our flash sale coupon code to help you complete your project. You can view it here: https://thespraysource.com/pages/clearance-flash-sales 🤝
This stuff is amazing. I got one 5 oz pack and it was perfect. It sprays like a dream and is easy to apply. I will be using your flake for any project I need it for.
Store owner replied:
Thank you for the feedback, Josh! We’re glad to hear the Silver Holographic SuperFlake worked perfectly for your project! Hearing and seeing that it sprays beautifully and was easy to apply means a lot to us. We truly appreciate your support!
Like it these are just some test panels will be back with some sweet stuff on this project we got big plans and a hayabusa
Store owner replied:
Thank you for the feedback, Dustin! Sounds like you’ve got an exciting project lined up, and a Hayabusa in the mix is definitely going to make it even sweeter. Can’t wait to see what you come up with—be sure to share the results when you’re ready. 🤝
Used 10 grams and 2 coats over pink. Just what my customer wanted
Store owner replied:
Thank you for your awesome feedback, Cameron! The results of your project look amazing, and we're glad to hear that your customer loved it! We’d love to invite you to join our FB group, The Spray Source - Paint Community, where you can share your incredible work with fellow enthusiasts. If you have any more photos or videos—especially before-and-after shots—we’d be excited to feature them and tag you in our posts. Feel free to send them to help@thespraysource.com, and if you have social media handles on FB, Instagram, or TikTok, share those too so we can give you proper credit and showcase your awesome work. And don’t forget to tag us in your posts—we’d be happy to repost and share the love! Thank you for supporting TSS! :)
It looks incredible with sun exposure, one of the coolest colors I've ever seen. However I'm glad I bought a smaller amount for a test spray; when there is no sunlight it just looks like black with ash or dust in the paint.
Overall its great for an effect of a different color as mid coat, however as a base coat I would not recommend.
Sprayed amazing, super easy coverage, beautifully eye catching. Completely unreal when you see it in the sun no pictures or videos will ever do it justice! 10/10
Store owner replied:
Hi there! Thank you so much for your fantastic feedback! We're thrilled to hear that you're impressed with the results. It sounds like your project turned out beautifully. If you need any more supplies or have any questions, feel free to reach out.
Sprayed over different chameleon pearls. Definitely gave a cool effect, one of them we will be using on a car.
Store owner replied:
That looks really cool! Thank you for your positive feedback and for supporting our small business!
I have bought quite a few cans from TSS and it is the best quality and results you can get from a spray can. Redid my wife's rims with a matte gold finish, and decided to use 2 cans of holographic spray over them as an experiment and they turned out awesome.. 1 can per 2 rims, and I got a decent enough effect, use 1 can per rim to Really get a pop!! Remember to prep surface and do a few light coats every 5-10min. Great stuff, thanks again TSS.... I'll be back!!
Store owner replied:
We're glad you love the pearls! Thank you for supporting our small business!
This came out great on our travel trailer. It's super rainbow sparkly. Just make sure you have the right tips for spraying. It's not the easiest to use but it looks epic.
Store owner replied:
We truly appreciate your kind words and feedback! Customer satisfaction is our top priority. Thank you so much for your love and support! 🙂
Bought a few bags and used it for my models because I can't afford a real car. I misjudged on how much I would need so I have a lot left over. 5g doesn't seem like much but it goes very far. 😂
I expected it to have texture but it laid down completely smooth and flat. Did a spray coat on one of my nephews toy metal car and he loves it! Passes the test! Would buy again.
Store owner replied:
We're more than happy that you love our products. Thank you so much for your love and support!
Thanks so much TSS Team. I was expecting to wait for a few weeks to get my product but it arrived in a week 😁👍 and I live in AUSTRALIA!!!!
The flake looks amazing and I can’t wait to see it on my car.
When the job is done I will definitely upload pictures!
Store owner replied:
Hi Donna! We're more than happy that you love our products. Thank you so much for your love and support! We really appreciate your business :)
I just got it today I didn’t try it yet but it looks gooood I’ll share a pic of my car soon