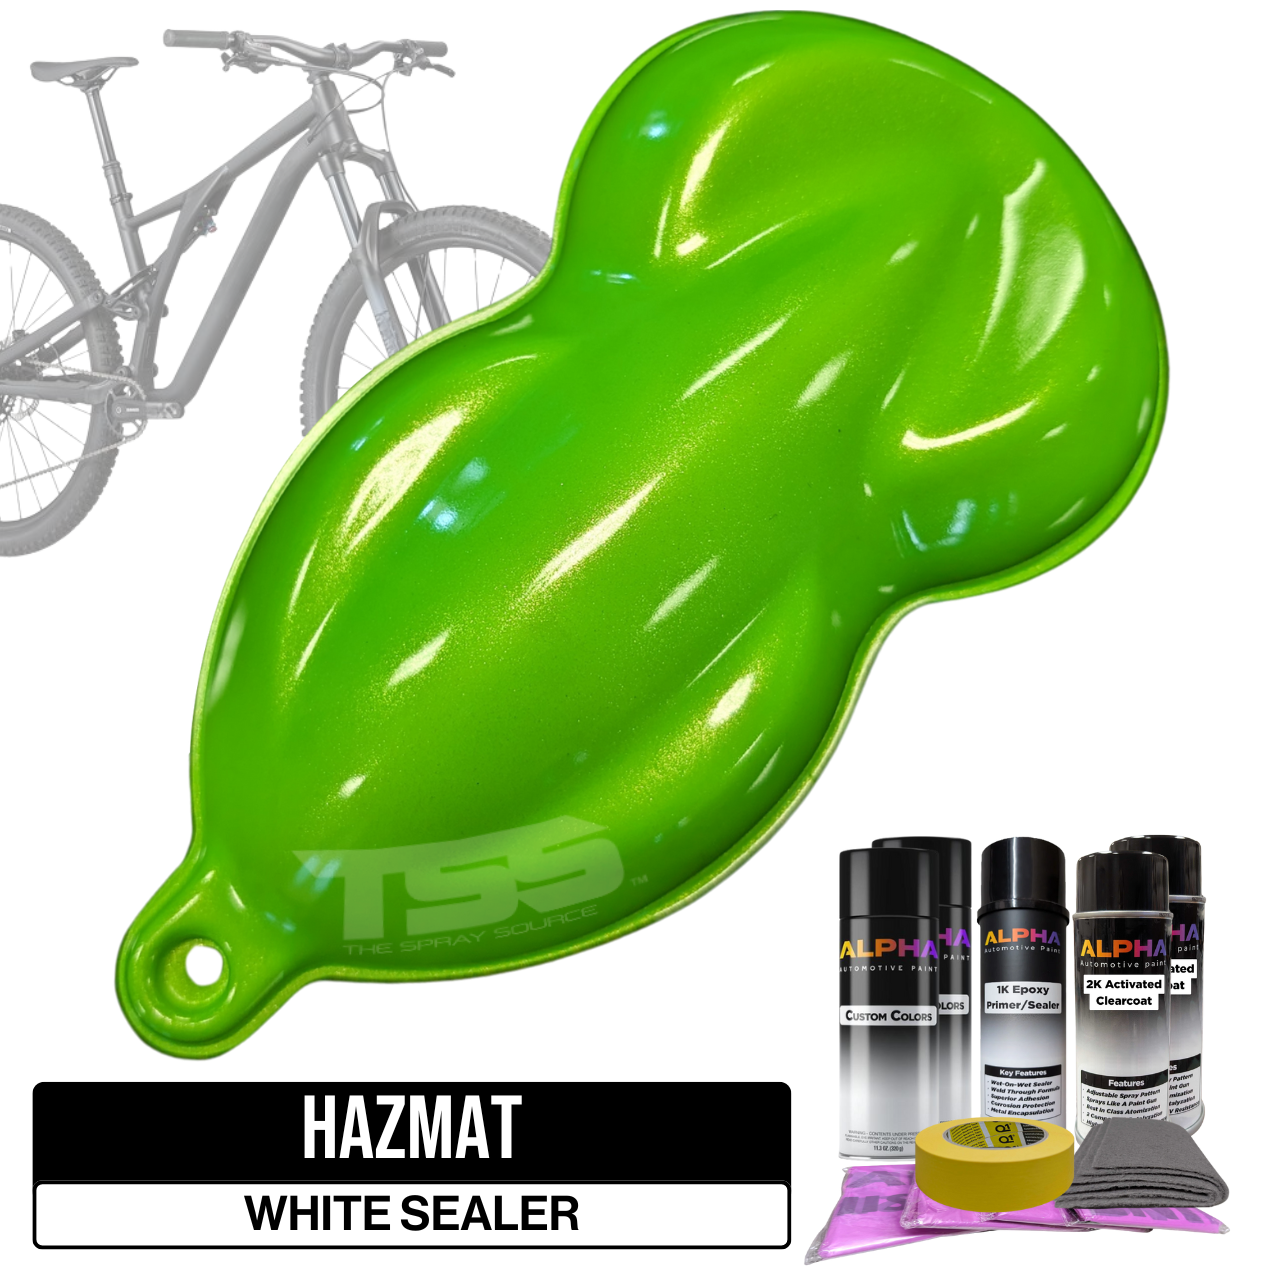


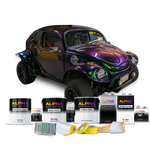


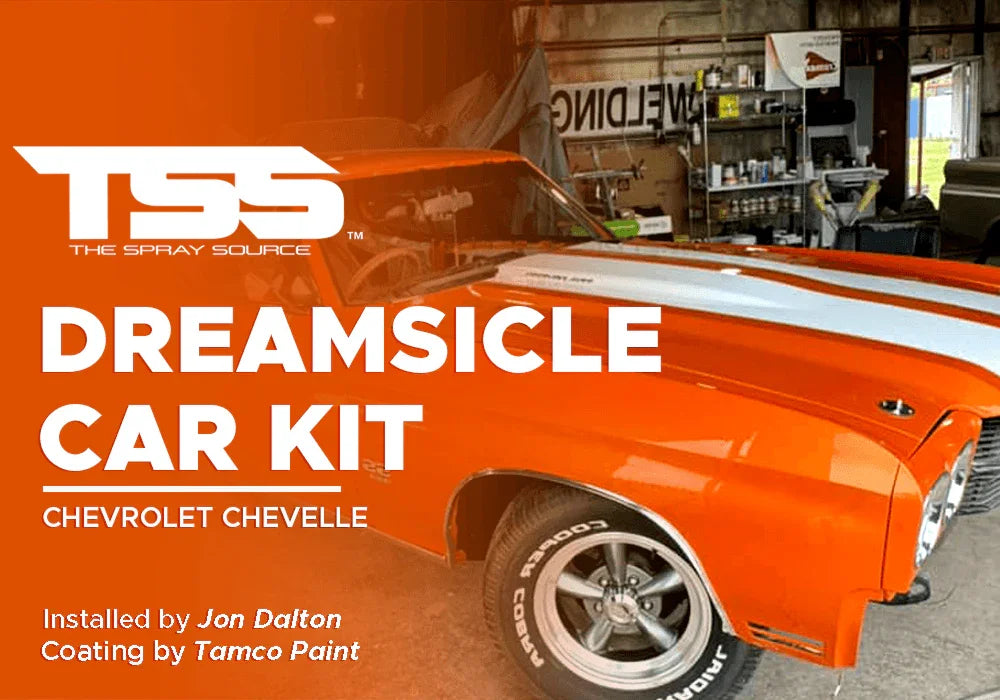
DREAMSICLE CAR KIT | ALPHA AUTOMOTIVE PAINT | CHEVROLET CHEVELLE


Marvel at Jon Dalton's incredible transformation of a classic Chevrolet Chevelle. Using our Dreamsicle Car Kit (White Ground Coat), Dalton has created a masterpiece of automotive artistry. His meticulous craftsmanship and exceptional choice of color bring out the Chevelle's timeless beauty, making it a true standout. Witness the perfect blend of classic design and modern flair in this stunning renovation.
Installer: Jon Dalton
Coating: Alpha Automotive Paint
Car Kit needed for this look:
- Dreamsicle Car Kit (White Ground Coat)
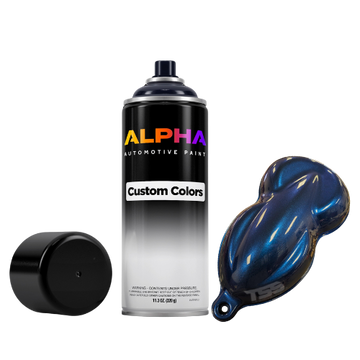
Like all of the Alpha Car kit Colors, Dreamsicle can be topped with Alpha Automotive Paint Clearcoat or other good UV-resistant clearcoats. This color is available in Automotive Paint & Aerosol Spray Cans as well.
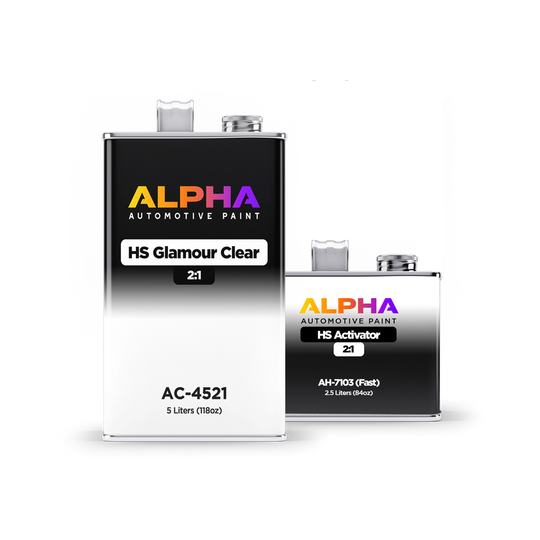
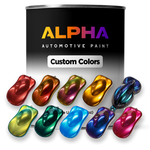
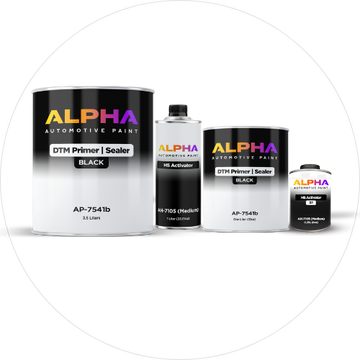
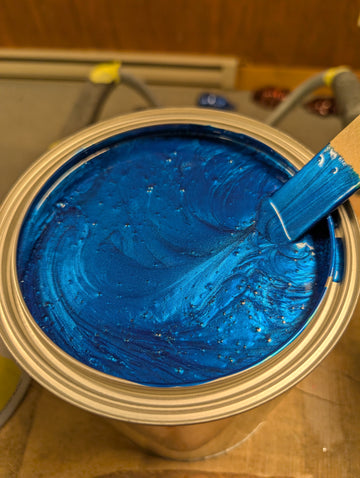
This project uses an Alpha Custom Color basecoat, bound in a special binder for pigment control, UV resistance, and excellent pearl suspension. The basecoat mixes 1:1 with an AR-30xx reducer for smooth application and consistent coverage. Our AP-7541 DTM Primer-Sealer provides outstanding adhesion, flexibility and fast drying, while the AC-4521 HS Glamour Clearcoat adds long-lasting gloss, UV protection and durability.
Project Step-by-Step Guide
- Complete your prep, body work, primer, and sanding following our video tutorials.
- Block-sand the exterior panels with 320 grit sandpaper and scuff door jambs, engine bay and tight areas with a red scuff pad.
- Blow off all dust outside and wipe down with wax & grease remover.
- If applicable, paint the door jambs and engine bay first, then wait 24 hours before moving on to the exterior.
- Re-mask and wipe down the project with anti-static wax & grease remover.
- Mix and spray one medium wet coat of AP-7541 DTM Primer-Sealer (4:1:1 ratio) using a 1.4 mm needle spray gun.
- After the sealer is 100% dry to the touch, wait at least an hour.
- Mix and spray your basecoat colour directly over the sealer (most colours require 2–4 coats for coverage/effect).
- Wait until the basecoat is dry to the touch before recoating.
- After the final basecoat is dry, wait 45 minutes.
- Mix and spray 2–3 coats of AC-4521 HS Glamour Clearcoat (2:1 ratio). Recoat when the previous coat is just tacky (fingerprints).
- Let cure for 12 hours in a warm, ventilated area.
- If wet sanding & buffing, leave masked for that process; otherwise unmask & assemble.
- Enjoy your newly painted project!
Follow us on Instagram and Tommy Knows Paint for more projects and tips.