


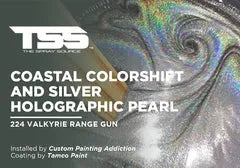
COASTAL COLORSHIFT AND SILVER HOLOGRAPHIC PEARL | ALPHA AUTOMOTIVE PAINT | 224 VALKYRIE RANGE GUN


 Talk about a powerhouse! This stunning custom 224 Valkyrie Range Gun owned by @manwithabowtie is not only an epic gun, it has an epic color combo as well! This gun sports a variety of our pigments to create this unique result!
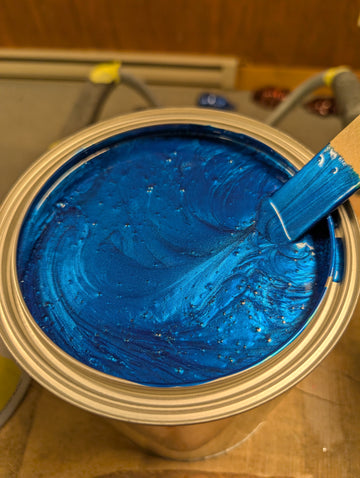
The accents on this gun were achieved using our Mystic Blue pearl as a basecoat then 2 coats of our Silver Holographic Pearl. The frame had a Pitch Black basecoat with a Coastal Colorshift pearl over top. Both of them have a high gloss finish using AC-4521 HS Glamour Clearcoat. This will protect it from damage / wear at the range.
Overall, this gun is a one of a kind beast that's ready for the range!
Installer: Custom Painting Addiction
Coating: Alpha Automotive Paint
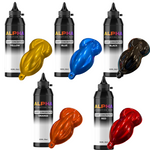
Pigments needed for this look:
Accents:
- Mystic Blue pearl basecoat (50g per sprayable gal)
- Silver Holographic Pearl (15g per sprayable gal ; 2 coats)
Frame:
- Pitch Black basecoat
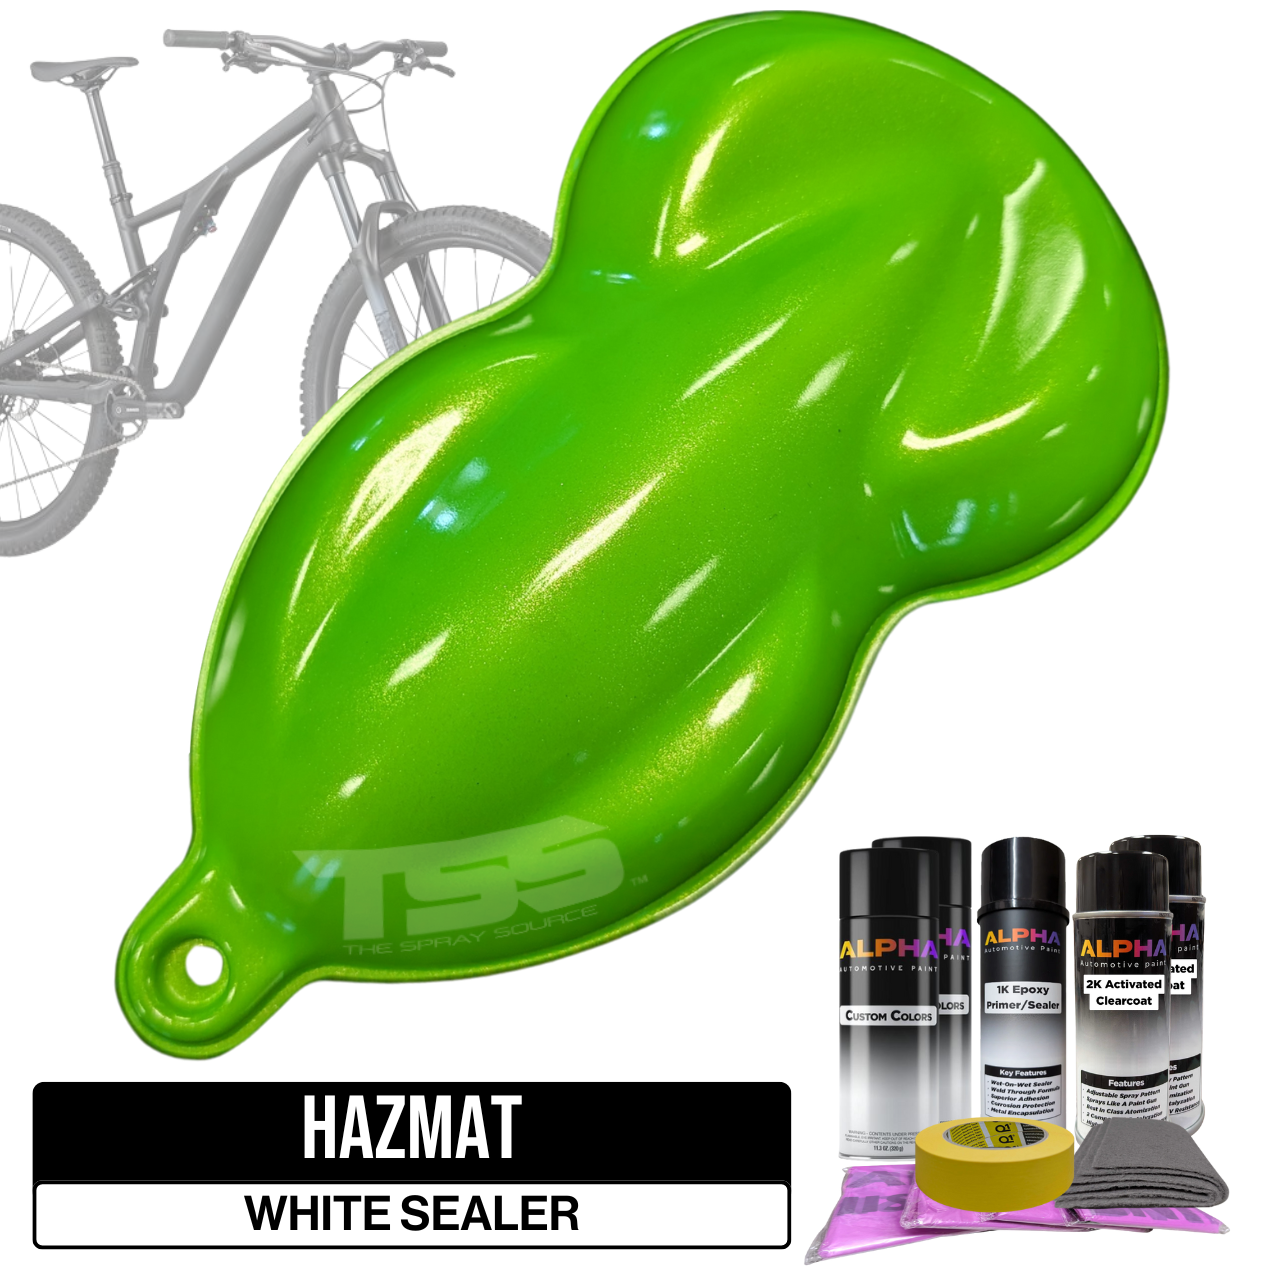
- Topped with Coastal Colorshift pearl (50g per sprayable gallon)
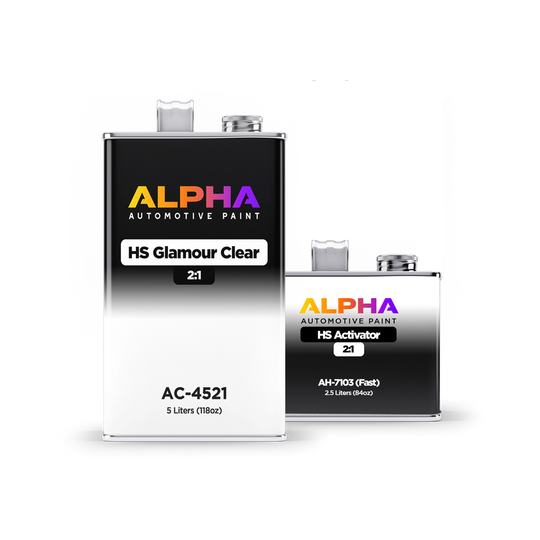
- High gloss finish (using AC-4521 HS Glamour Clearcoat)
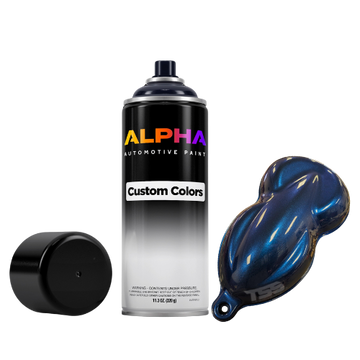
Like all of our pearl pigments, Mystic Blue Pearls, Silver Holographic Pearls, and Coastal Colorshift Pearls can be used in Alpha Automotive Paint or other traditional automotive paint, epoxy resin for woodworking and other art, nail polish, plastisol, Autoflex Coatings, Performix Plastidip, Halo efx, DYC Proline, waterbased airbrush paint, slime, bed liners, powder coat and MANY other applications!
These colors are available in Automotive Paint & Aerosol Spray Cans as well.
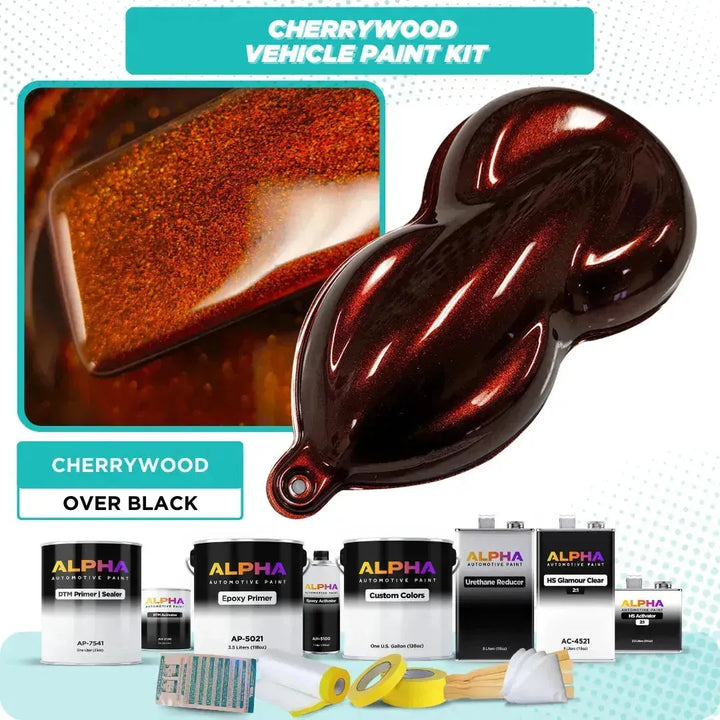
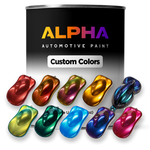
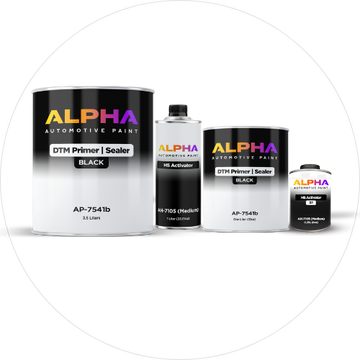
This project uses an Alpha Custom Color basecoat, bound in a special binder for pigment control, UV resistance, and excellent pearl suspension. The basecoat mixes 1:1 with an AR-30xx reducer for smooth application and consistent coverage. Our AP-7541 DTM Primer-Sealer provides outstanding adhesion, flexibility and fast drying, while the AC-4521 HS Glamour Clearcoat adds long-lasting gloss, UV protection and durability.
Project Step-by-Step Guide
- Complete your prep, body work, primer, and sanding following our video tutorials.
- Block-sand the exterior panels with 320 grit sandpaper and scuff door jambs, engine bay and tight areas with a red scuff pad.
- Blow off all dust outside and wipe down with wax & grease remover.
- If applicable, paint the door jambs and engine bay first, then wait 24 hours before moving on to the exterior.
- Re-mask and wipe down the project with anti-static wax & grease remover.
- Mix and spray one medium wet coat of AP-7541 DTM Primer-Sealer (4:1:1 ratio) using a 1.4 mm needle spray gun.
- After the sealer is 100% dry to the touch, wait at least an hour.
- Mix and spray your basecoat colour directly over the sealer (most colours require 2–4 coats for coverage/effect).
- Wait until the basecoat is dry to the touch before recoating.
- After the final basecoat is dry, wait 45 minutes.
- Mix and spray 2–3 coats of AC-4521 HS Glamour Clearcoat (2:1 ratio). Recoat when the previous coat is just tacky (fingerprints).
- Let cure for 12 hours in a warm, ventilated area.
- If wet sanding & buffing, leave masked for that process; otherwise unmask & assemble.
- Enjoy your newly painted project!
Follow us on Instagram and Tommy Knows Paint for more projects and tips.