Shop Faster in the AppFree on the App StoreInstall
Get The Spray Source App — reorder, track orders and chat with us from your phone.Scan to Get the AppPoint your phone camera at the code. It opens the App Store on iPhone and Google Play on Android.App Store · Google Play
25,000 + paint jobs completed.
Pro Grade Results. A Fraction of the Cost. No Experience Needed.
Add $150.00 more for FREE shipping to the lower 48!
OPTIONALAdd Prep Materials
🎃 Halloween Sale ends in4d 22h
🎃 Halloween Sale ends in4d 22h 55m 29s
In stock, ready to ship
Description
This Guitar Paint Kit includes everything you need to paint your custom guitar Roxy. From the primer, basecoat, and topcoats to the optional prep and masking materials – each item has been specially put together for you in one all-inclusive bundle. You simply choose the desired color, project type, finish (Matte, Satin, or Gloss), and optional add-ons. Then we handle the rest. Doesn’t get easier than this!
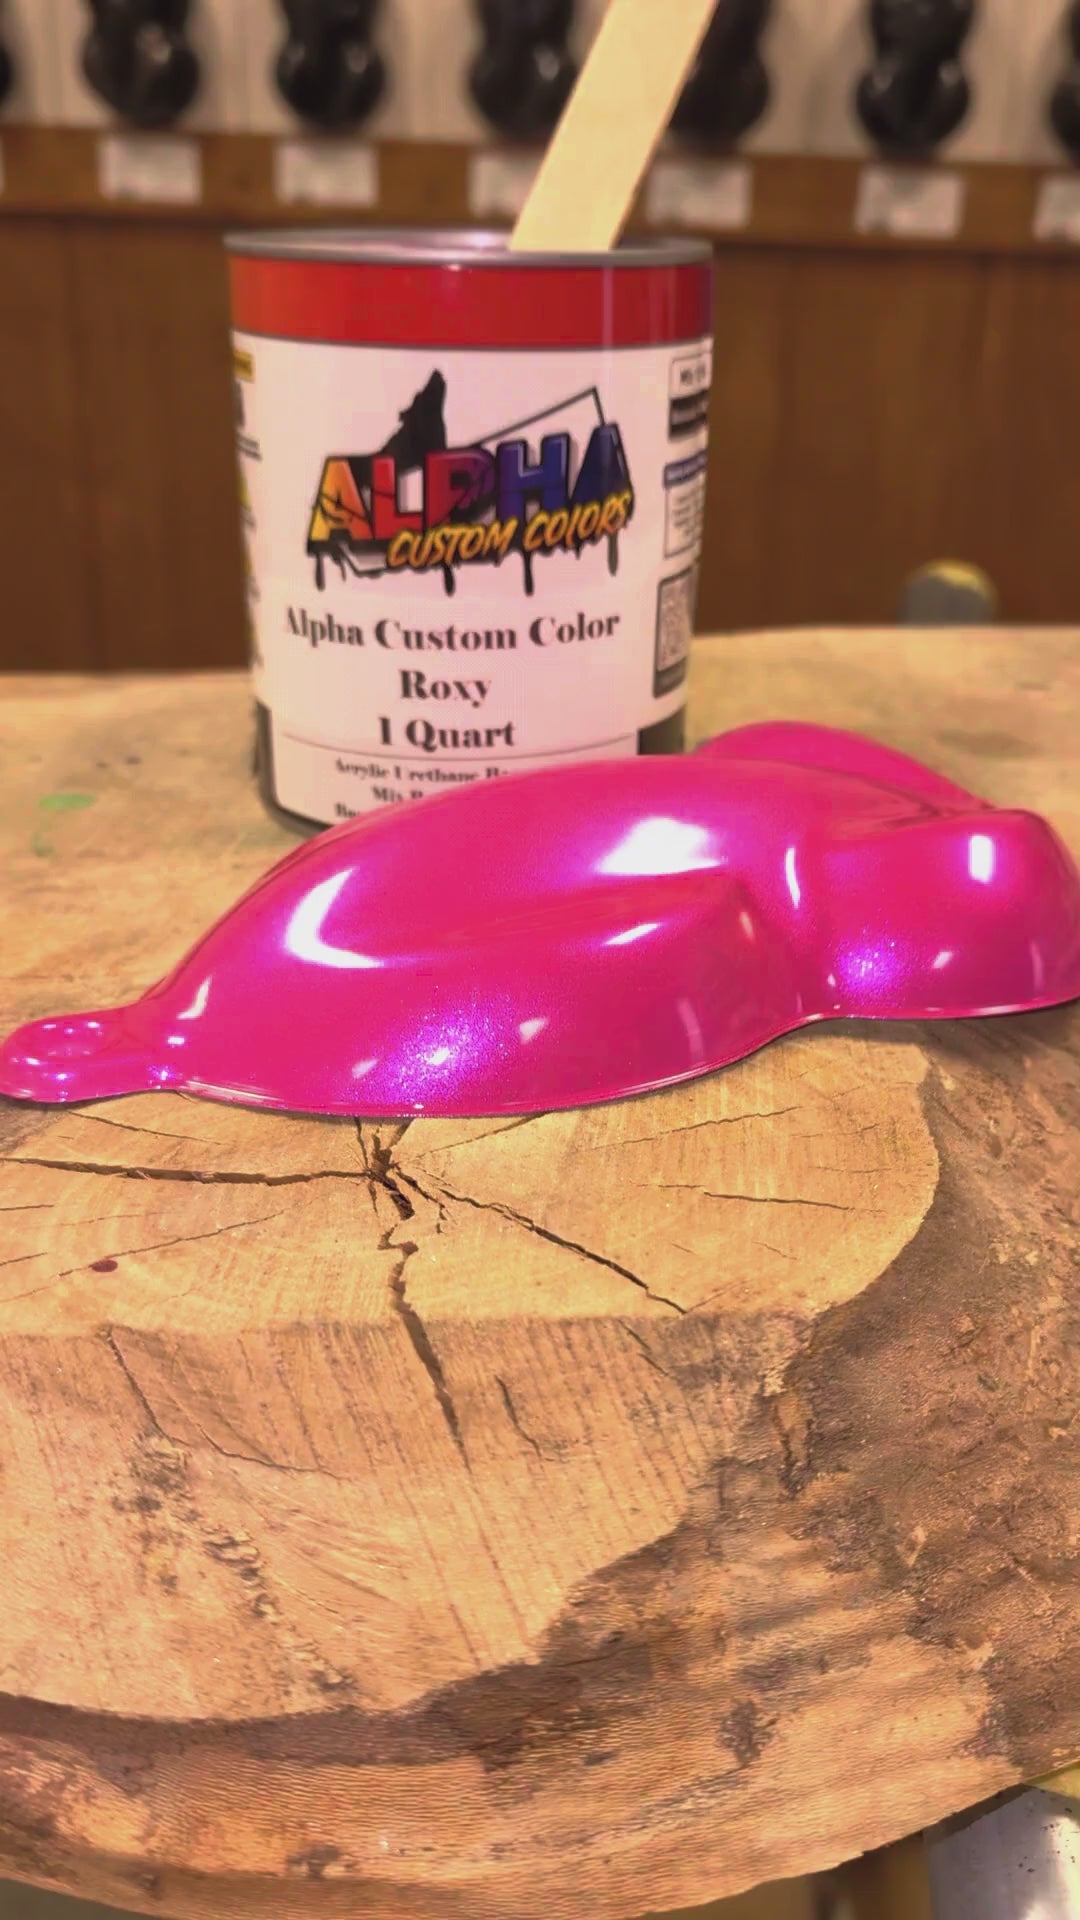
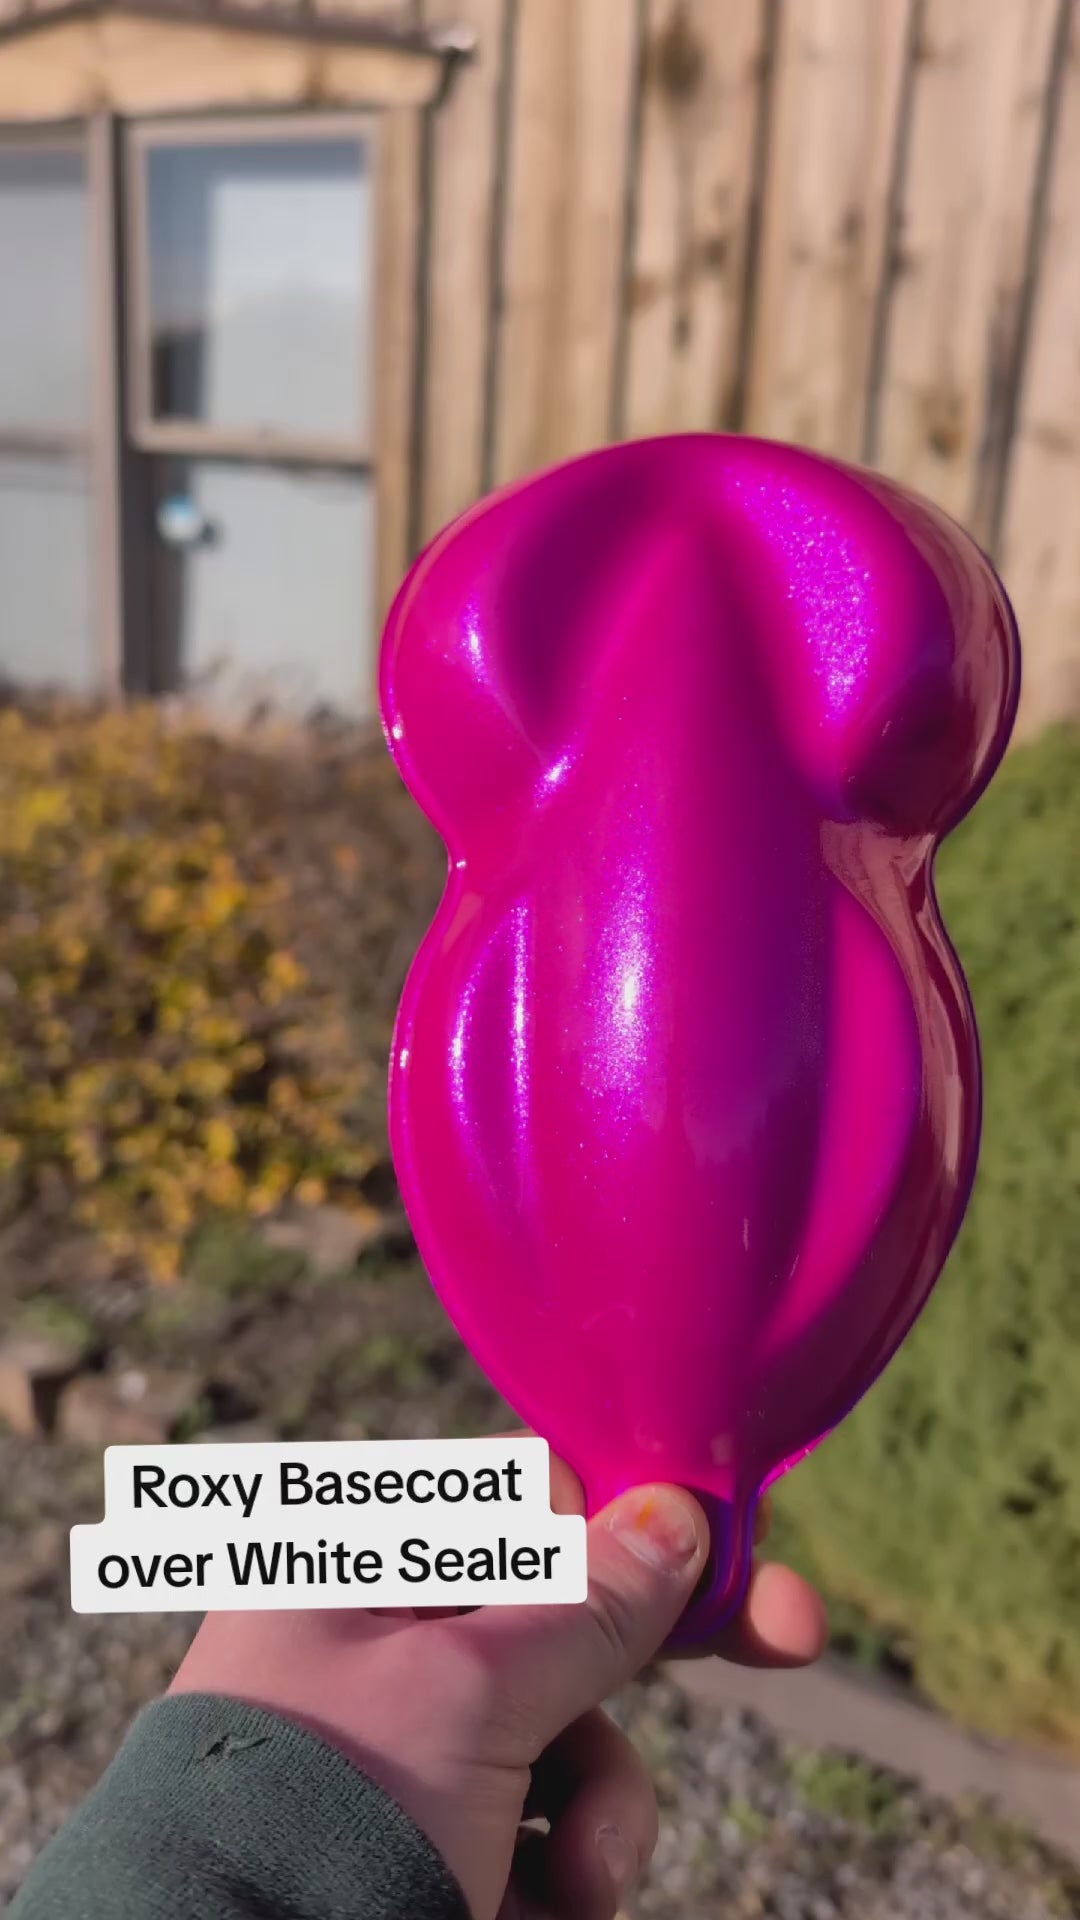
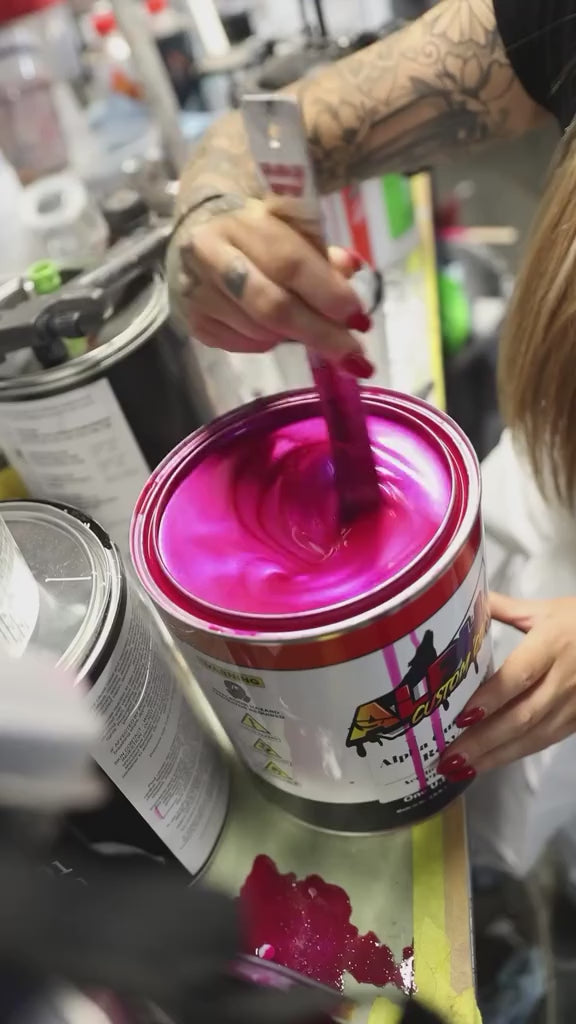
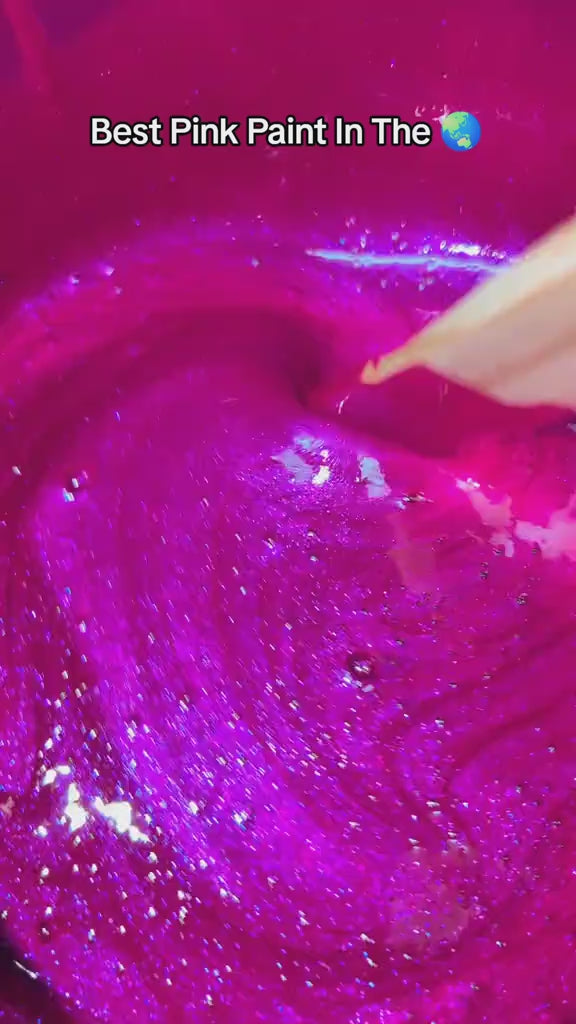
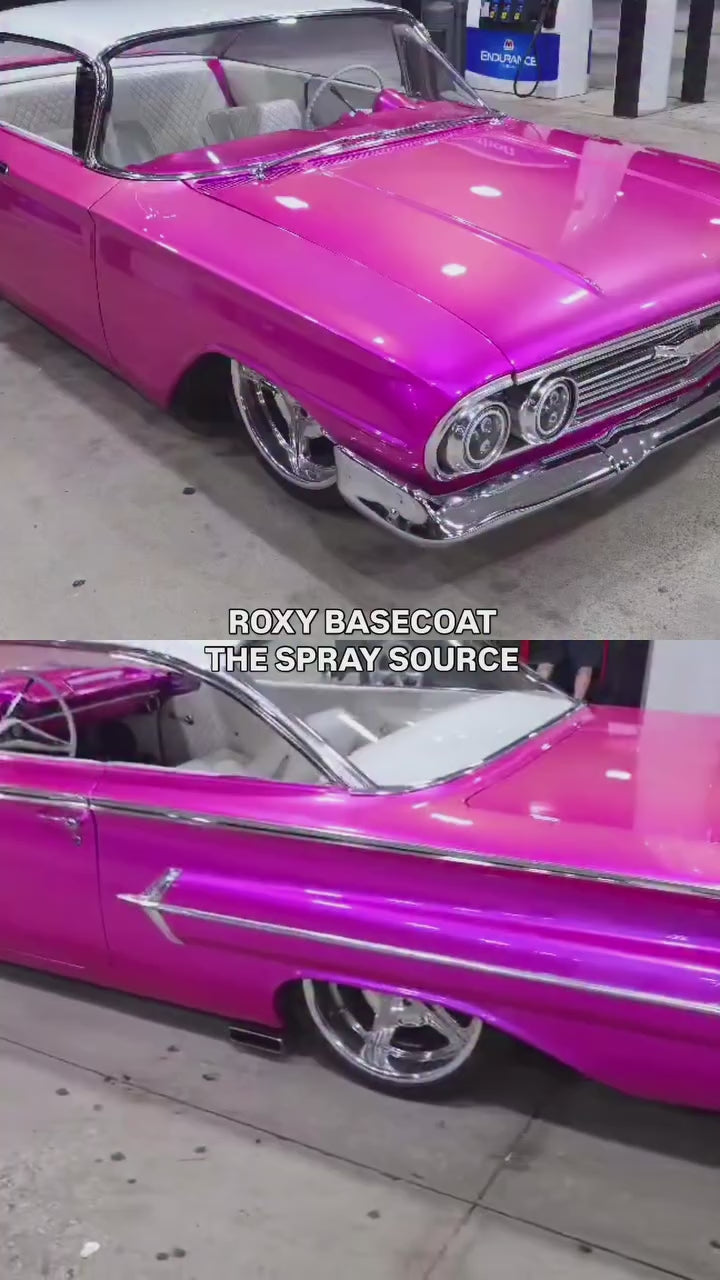
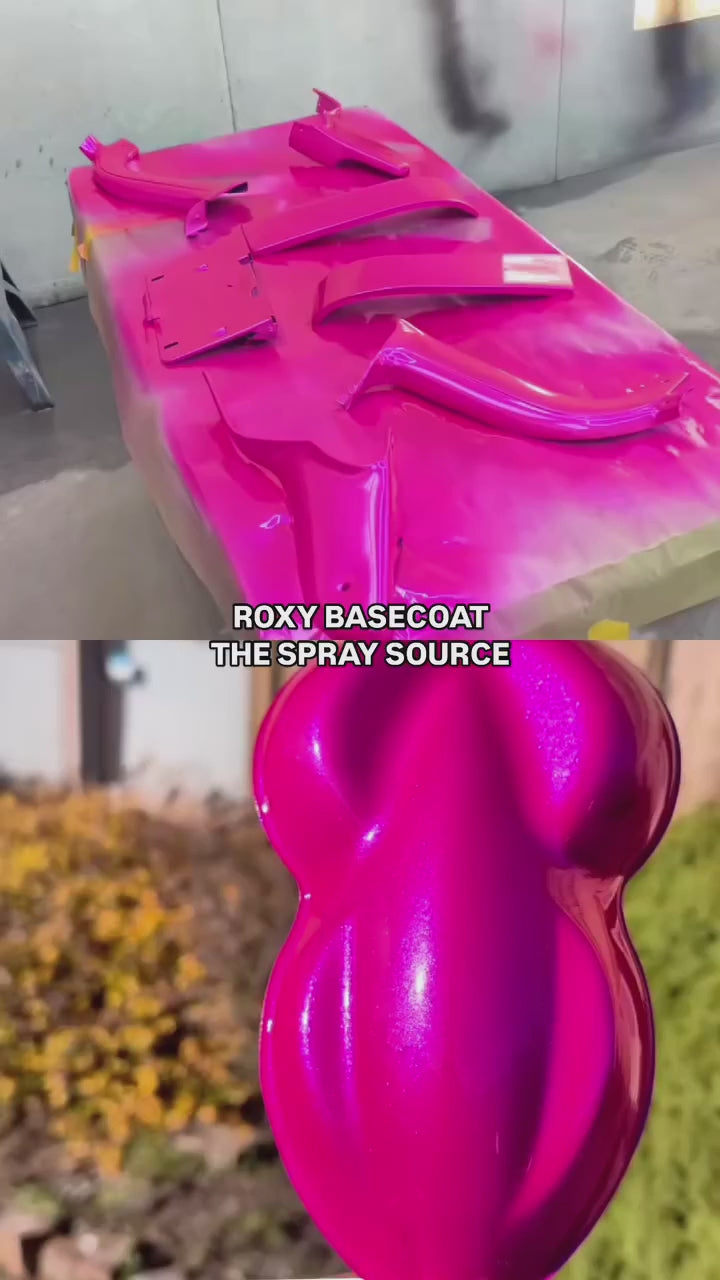
About this color: is an epic Alpha Custom Color with the best aspects of the colorshifts, candy and custom colors! That's Right - Alpha has innovated the paint world AGAIN with this new color! An easy to spray candy pearl basecoat with vibrant colorshifting properties that is unlike anything else on the market. This specific color is mostly pink with a "ghost" style colorshift of purple, blue, gold.
Details About This Kit: This kit is for customers ready to paint their guitar. You will need a properly prepped body and neck to apply the paint. This kit does not include an unfinished body or neck.
This kit is perfect for those looking to transform their guitar with professional-grade paint and finishes.
*Failure to properly prepare and finish the guitar can result in poor paint adhesion or a less durable finish. Proper prep and sealing are highly recommended.*
Steps to using the kit:
Inspect your guitar body and neck to ensure proper sanding and prep before painting.
Wash and clean your guitar parts thoroughly to remove any dust or oils.
Scuff the entire surface you plan to paint with the included scuff pad with paste until the finish is flat and properly prepped.
Apply the included primer to create a smooth base for the paint. Allow the primer to dry thoroughly.
Shake the basecoat cans according to the label. Apply 2–4 basecoats, waiting 10 minutes or until flashed between coats, until the desired color is achieved.
Allow the basecoat to dry fully before applying 2–4 wet coats of clearcoat for a glossy, durable finish.
Wait 8 hours for the clearcoat to fully cure before handling or assembling your guitar.
✔ Includes all materials needed to paint your guitar body and neck
✔ One Guitar Paint Kit properly covers standard guitar body sizes
✔ Step by step video guides available
✔ TSS experts are available and ready to help via chat or phone!
1 - Wash with soap and water, rinse, and dry completely.
2 - Degrease using wax and grease remover or isopropyl alcohol.
3 - Wipe dry with a clean, lint-free towel.
STEP 2 – SCUFF / SAND FOR ADHESION
If Raw Plastic / Polyurethane: Evenly scuff bare plastic or raw surfaces. These will also need to be adhesion promoted prior to paint using our WolfBite Adhesion promoter.
If Good Condition OEM Paint: Sand smooth or glossy paint with P320-P400 grit sand paper or Scuff Pad until uniformly dull with no glossy areas.
If Surface Needs Bodywork or heavy scratches removed: Sand the damaged areas with 180 grit (feathered out into the panel) then do your bodywork. Finish in 220 Grit sanding. Then spot prime with high build primer - fading the primer out into the rest of the sanded panel covering the bodywork and any 220 grit scratches. (the good condition areas of the panel should have been sanded in 320-400 or scuff pad). Lastly, after the high build primer is dry and ready to be sanded (check tds for timeline), sand with 320-400 to match the rest of the panel.
After The above prep: Remove dust with compressed air or a clean microfiber towel.
STEP 3 – FINAL WIPE & TACK
1 - Wipe the surface again with isopropyl alcohol or wax and grease remover.
2 - Allow solvents to fully evaporate.
3 - Lightly wipe with a tack cloth immediately before spraying. Do not press hard. (optional but great step)
STEP 4 – SET UP YOUR SPRAY AREA
1 - Use a well-ventilated, well-lit area with good extraction fans
2 - Ideal conditions are 65–75°F (18–24°C) with 40–60% relative humidity.
3 - Keep the area free of open flames, sparks, or ignition sources.
4 - Wet the floor if your space allows to keep dust down
5 - Cover any items or areas in your space that you do not want to get overspray on
STEP 5 – PERSONAL PROTECTION
1 - Wear a respirator rated for organic or solvent vapors.
2 - Use nitrile gloves and safety goggles.
3 - Wear a paint suit
STEP 6 – SHAKE THE CAN
1 - Shake vigorously for 45–60 seconds.
2 - Invert the can several times while shaking to fully mix pigments and metallics.
STEP 7 – TEST SPRAY
ALWAYS DO A TEST SPRAY + SPRAY OUT CARD IF DOING OEM SPOT JOBS
1 - Spray on cardboard or a scrap panel.
2 - Confirm even spray pattern, correct color, and proper atomization.
3 - Adjust the spray can's nozzle to match your spray style or surface.
4 - If the can is not operating correctly, remove the cap completely, reseat it on the can, and twise the entire nozzle 360 degrees. Since our cans are made to order, sometimes there is slight paint build up and reseating the nozzle corrects this.
STEP 8 – SPRAYING TECHNIQUE
1 - Hold the can 5–6 inches from the surface.
2 - Keep the can perpendicular, 90 degrees to the panel at all times.
3 - Move at a steady speed using smooth, even passes. You are looking for medium wet coats NOT super wet, pooling coats.
4 - Overlap each pass by 50 percent.
STEP 9 – TRIGGER CONTROL
1 - Begin moving before pulling the trigger. Start off of the panel then move onto the panel. This avoids build up on edges.
2 - Fully depress the trigger while spraying.
3 - Release the trigger completely at the end of each pass.
4 - Stop spraying after clearing the panel edge by an inch.
STEP 10 – COATS & FLASH TIMES
1k Primer/Sealer
1 - Spray a medium wet coat on the entire panel (if not blending oem paint) to achieve a 75% coverage. This fills in the sanding scratches as well as gives a uniform , required ground coat color for the next steps.
2- Allow to flash dry for 5-15 minutes. Time depends on the product and environment.
3 - Apply the second medium-wet coat to achieve full coverage
4 - Allow to dry for 30 minutes or until the wet look fades so a dull, even finish and is completely dry to the touch.
GROUNDCOATS or SOLID COLORS (BEFORE MIDCOATS IF APPLICABLE)
This is for our Base Black, OEM Undercoats or solid colored basecoats. Not all projects require this step.
1 - Apply the first medium-wet coat at approximately 75 percent coverage.
2 - Allow to flash 5-15 minutes or until the wet look fades so a dull, even finish. Time depends on the product and environment.
3 - Apply the second medium-wet coat to achieve full coverage
4 - Allow to flash 5-15 minutes or until the wet look fades so a dull, even finish. Time depends on the product and environment.
5 - Apply a Third medium wet coat if the color is not 100% covered and even at this point. This will vary based on the color and product being sprayed.
4 - Flash another 15-30 minutes. Until the surface is even, dull, an dry to the touch.
MIDCOAT , CUSTOM COLORS , OR METALLIC/ PEARL OEM
This is for coverage over required groundcoats , not "ghost effect"
1 - Apply medium coats over the required groundcoat for your color.
2 - Flash 5–15 minutes between coats or until tack-free.
3 - Apply additional coats until the desired color depth is achieved. Most custom and oem colors require 2-4 medium coats - check color description or compare to existing oem panels
4 - Apply 1 light "control" coat to make sure all of the pearl or metallic is even and not splotchy or "tiger striped"
5 - Wait 30 mins or 15 mins after the surface is completely dull and dry to the touch before moving on to topcoat step.
EFFECT PEARL / COLORSHIFT COAT
This is for effect over light groundcoats (not for coverage)
1 - Apply one light effect coat at approximately 25 percent coverage.
2 - Allow 5-15mins for the coat to flash before adding another light coat (if you want to add more effect)
Repeat as many times to your preference of effect and coverage.
3 - Wait 30 mins or 15 mins after the surface is completely dull and dry to the touch before moving on to topcoat step.
STEP 11 – CLEANUP & STORAGE
CAP CLEARING
1 - Turn the can upside down after spraying.
2 - Spray until only clear propellant comes out.
3 - This clears paint from the valve and prevents clogging.
NOZZLE CARE
1 - Remove the spray nozzle after use.
2 - Wipe clean with solvent.
3 - Do not soak the nozzle in solvent.
STORAGE
1 - Store cans upright in a cool, dry place.
2 - Keep away from direct sunlight.
3 - Avoid freezing conditions.
4 - Do not store above 120°F (49°C).
QUICK TROUBLESHOOTING
1 - Dry or rough texture means the can is too far away or moving too fast.
2 - Runs or sags mean the can is too close or moving too slowly.
3 - Continue to shake and agitate the can between coats- Repeat step 6
4 - If ever unsure the color is 100% covered (and you are going for coverage) - one extra coat is always a good idea.
A clean, scuffed, and masked surface is the key to a great finish. Your kit includes the masking supplies, and our step-by-step guides walk you through the prep.
The card that ships in every spray can kit: 12 directions, coats & flash times, project notes and QR codes to the tutorials. Download it before you buy.
Everything has been great. I love this pink and will soon be purchasing my kit! Super excited. Only issue I'm having is the envelope to return the samples. They keep wanting to charge $12 for the envelope even though the label says postage paid? They say it's because of the envelope. I love being able to see the paint before purchase because the First time I painted my bike I spent more than 1K on paints I did not like. Thanks Spray Source
Store owner replied:
Thank you for the feedback, Misty! We're thrilled to hear you love the pink and are excited to order your kit. We’re sorry for the confusion regarding the return envelope. The postage-paid label should normally cover the return, so there shouldn’t be an extra charge. We appreciate you using our painted samples and thank you for choosing The Spray Source!
The Roxy is going over the Wicked White that I used as a mid-coat over the Grey Epoxy Primer. I’m hoping to give the Color Shifts in the Roxy Candy a little extra Pop on this SG tribute build. Next to the SG on my bench is a 59 Les Paul semi Hollow in Fever Dream and Scorched Apple. It’s waiting for the SG to catch up so that I can shoot the HS Glamour Gloss on both at the same time. One of the best parts of these TSS Guitar Kits is they have everything you need, and priced so you can both learn how to Spray, and let your creativity wander around a bit at the same time.
Another feature I love is collaborating with Amber the Chat AI. We chatted about my desired effects with the TSS Alpha Custom Colors. I uploaded a rendering that I created showing my goal, then we. created a very detailed, complete painting plan together.
I am having so much fun with the almost fool proof TSS Guitar Paint, that while I’m waiting on materials for one, I start another just to have something to paint.
Store owner replied:
Thank you for the feedback, Jay! We love hearing how you're experimenting with different colors and finishes and bringing your creative ideas to life. It's awesome to hear that our AI Amber assistant has been helpful in planning your paint effects, too! We can't wait to see the finished SG and Les Paul once they're both complete. Great progress!
Store owner replied:
Thank you so much for the 5-star review, Zach! Your car looks incredible, and the Roxy paint stripes really pop against the black finish. We're glad to hear you're happy with the results. Thank you for choosing TSS and we appreciate you sharing your awesome project with us!
Store owner replied:
Thank you for sharing a photo of your project, Brandy! Your car looks amazing with the Roxy paint - it turned out beautifully. We really appreciate you taking the time to show us the finished results, and we're glad to have been a part of your project. 🤝🙌
Store owner replied:
Thank you so much for the great feedback! We’re really happy to hear you enjoyed the Jade Green Spray Can Midcoat, and it looks amazing on your project. We truly appreciate your support and are glad to have you as a returning customer! 🤝🙌
I used Roxy to spray trim pieces for my Bronco! It was the perfect color and I will definitely be saving my pennies so everything can be this color!
Store owner replied:
Thank you for the feedback, Ailee! That Roxy came out amazing on your Bronco! The pink accents really pop against the interior and give it such a custom look. We’re so glad Roxy was the perfect match for your vision. Great work! 🙌
We love the color! We will be ordering a full paint kit soon. Spayed a toy of the wife's truck first. Fast shipping. Great spray coverage. Great products.
Store owner replied:
Thank you for your feedback, Kevin! We’re so glad to hear you love the Roxy paint and that it delivered great coverage and fast shipping. It’s awesome that you even tested it out on a toy version first. That looks fantastic! We really appreciate your support and look forward to helping you with your full paint kit soon. 🤝
Store owner replied:
Thank you for your feedback, Richard! We’re really glad to hear that the Roxy Paint Basecoat covered so well and worked out perfectly for your project. The result looks amazing. Great work! 🙌🙌🙌
This was just a test sample with minimal prep. But man thats the color i have been looking for. We will be ordering a gallon for our project. Talk about one off color and bright and many different colors within it in the sunlight. It also sprayed great and i just used some old clear i had laying around. Fast shipping and great product.
Store owner replied:
Thank you for your feedback, Darrin! We’re glad to hear that the Roxy basecoat turned out exactly as you were hoping and that it sprays well even with minimal prep. Amazing work! We appreciate your support. 🤝
So easy to use!!
I will definitely use them again when I get bored of the roxy.
Store owner replied:
Thank you for the feedback, Cheyenne! The Roxy paint looks fantastic on your bike. We’re glad to hear it was easy to use. Looking forward to helping with your next project whenever you’re ready. 🤝🙌
Store owner replied:
Thank you so much for the feedback, Matthew! We're glad to hear the Roxy paint laid down with full coverage in just two passes and it looks amazing on your project. We appreciate you sharing the photo, and great job on the application! 🙌
The roxy paint covers better than expected. A pint got this ezgo txt looking great!
Store owner replied:
Thanks so much for the feedback, Kyle! We’re glad the Roxy paint exceeded your expectations, and the results speak for themselves. The photos you sent look fantastic—great job bringing that EZGO TXT to life! 🙌
Store owner replied:
Thank you for the feedback, Demetrios! We’re glad to hear you were amazed with the results of Roxy. We really appreciate you giving it a try and sharing your experience with us!
Store owner replied:
Thank you for the feedback, Nick! We're glad to hear that the Roxy Spray Can looks good on your ultra bee! It's fantastic to know our product is meeting your expectations and adding that perfect touch. We truly appreciate your support!
Another smooth order on some great paint! Love the Roxy!
Store owner replied:
Thank you for the feedback, Kevin! We're happy to hear another order arrived smoothly and that you're loving the Roxy paint. We appreciate your support!
This color is going to be a great compliment to the purple
Store owner replied:
Thank you for the feedback, Brian! We’re glad to hear that. Roxy is such a perfect complement to purple. Your project is going to look stunning! Thanks for supporting TSS. 🤝
Store owner replied:
Thank you for the feedback, Kenny! We're so glad you love the Roxy basecoat — it's definitely a standout shade. Thanks again for choosing us! 🤝
Its a beautiful color and I will be ordering when it's time to paint my mini truck.