


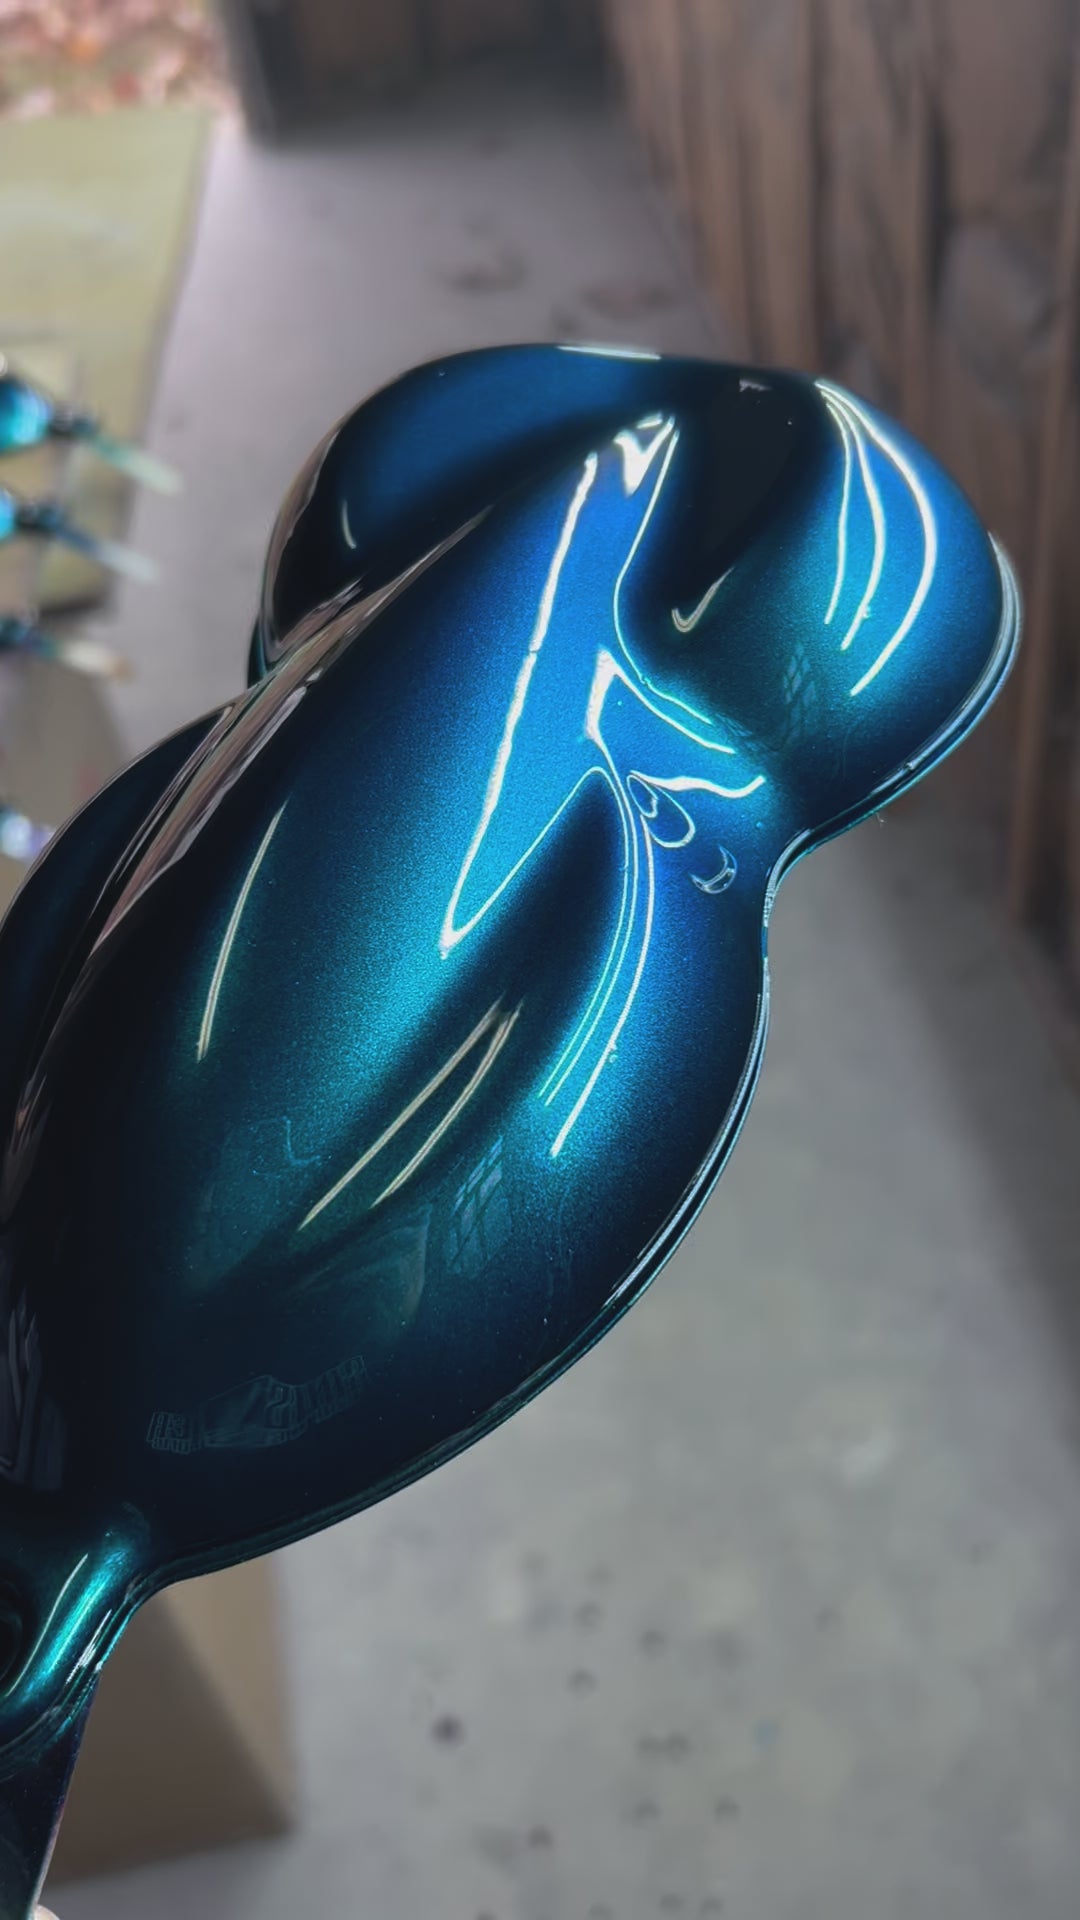
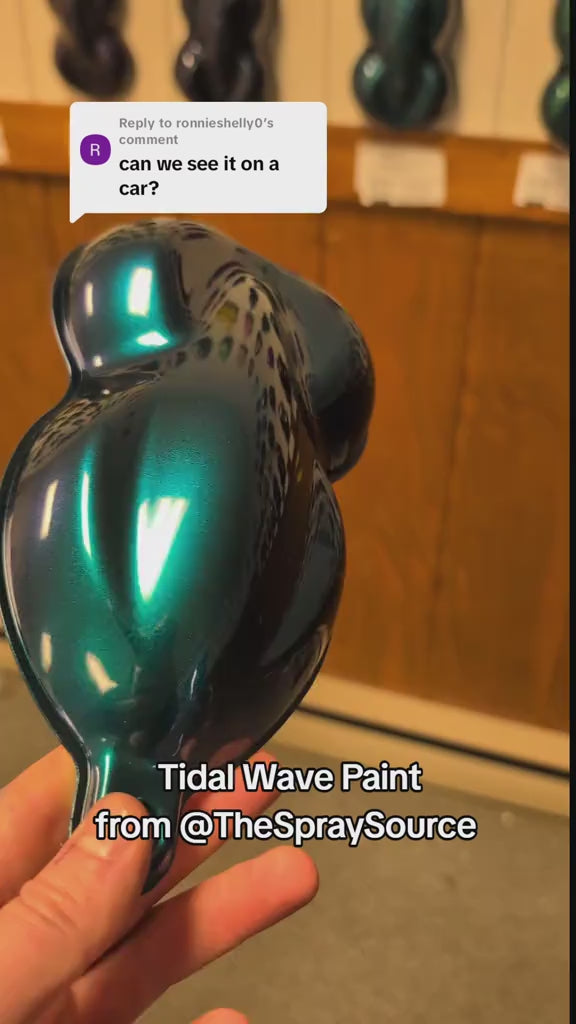
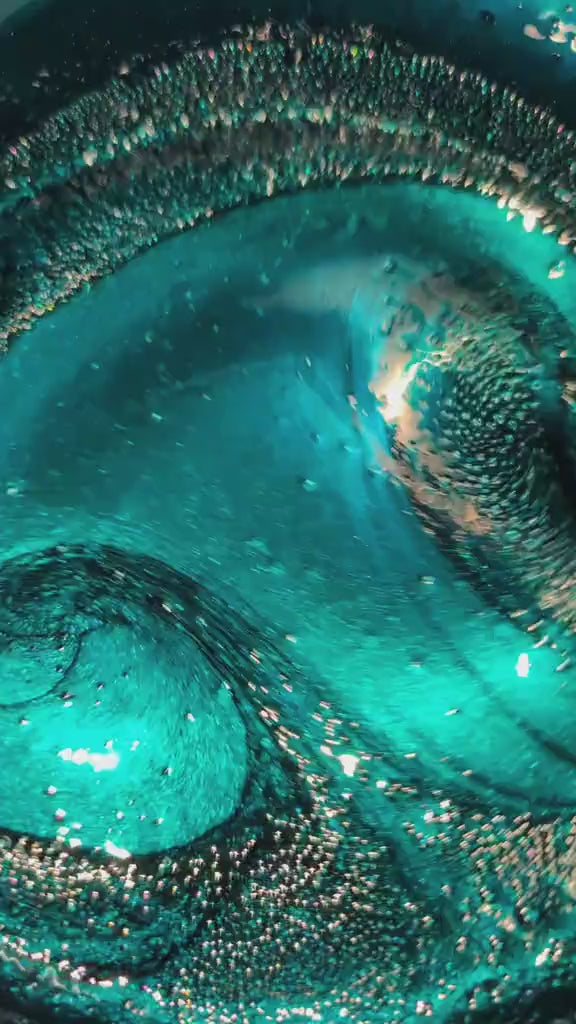
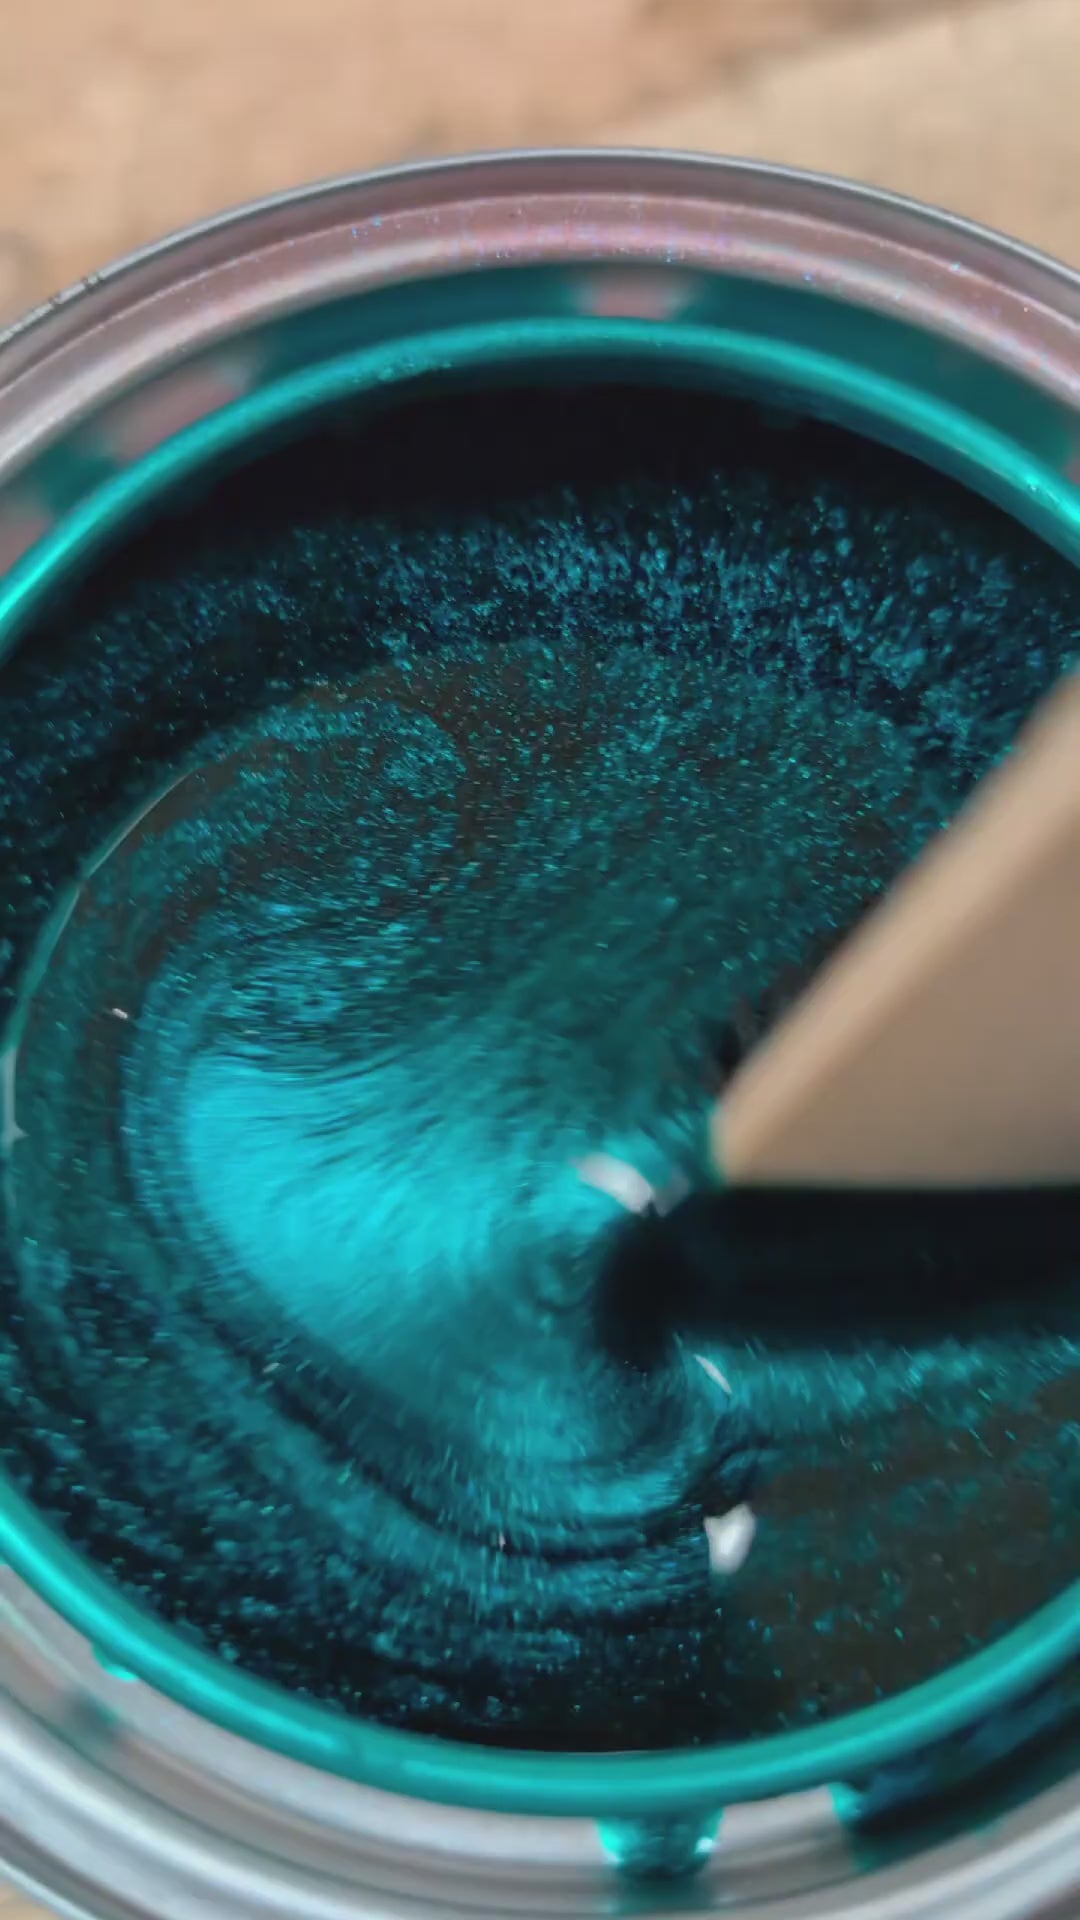
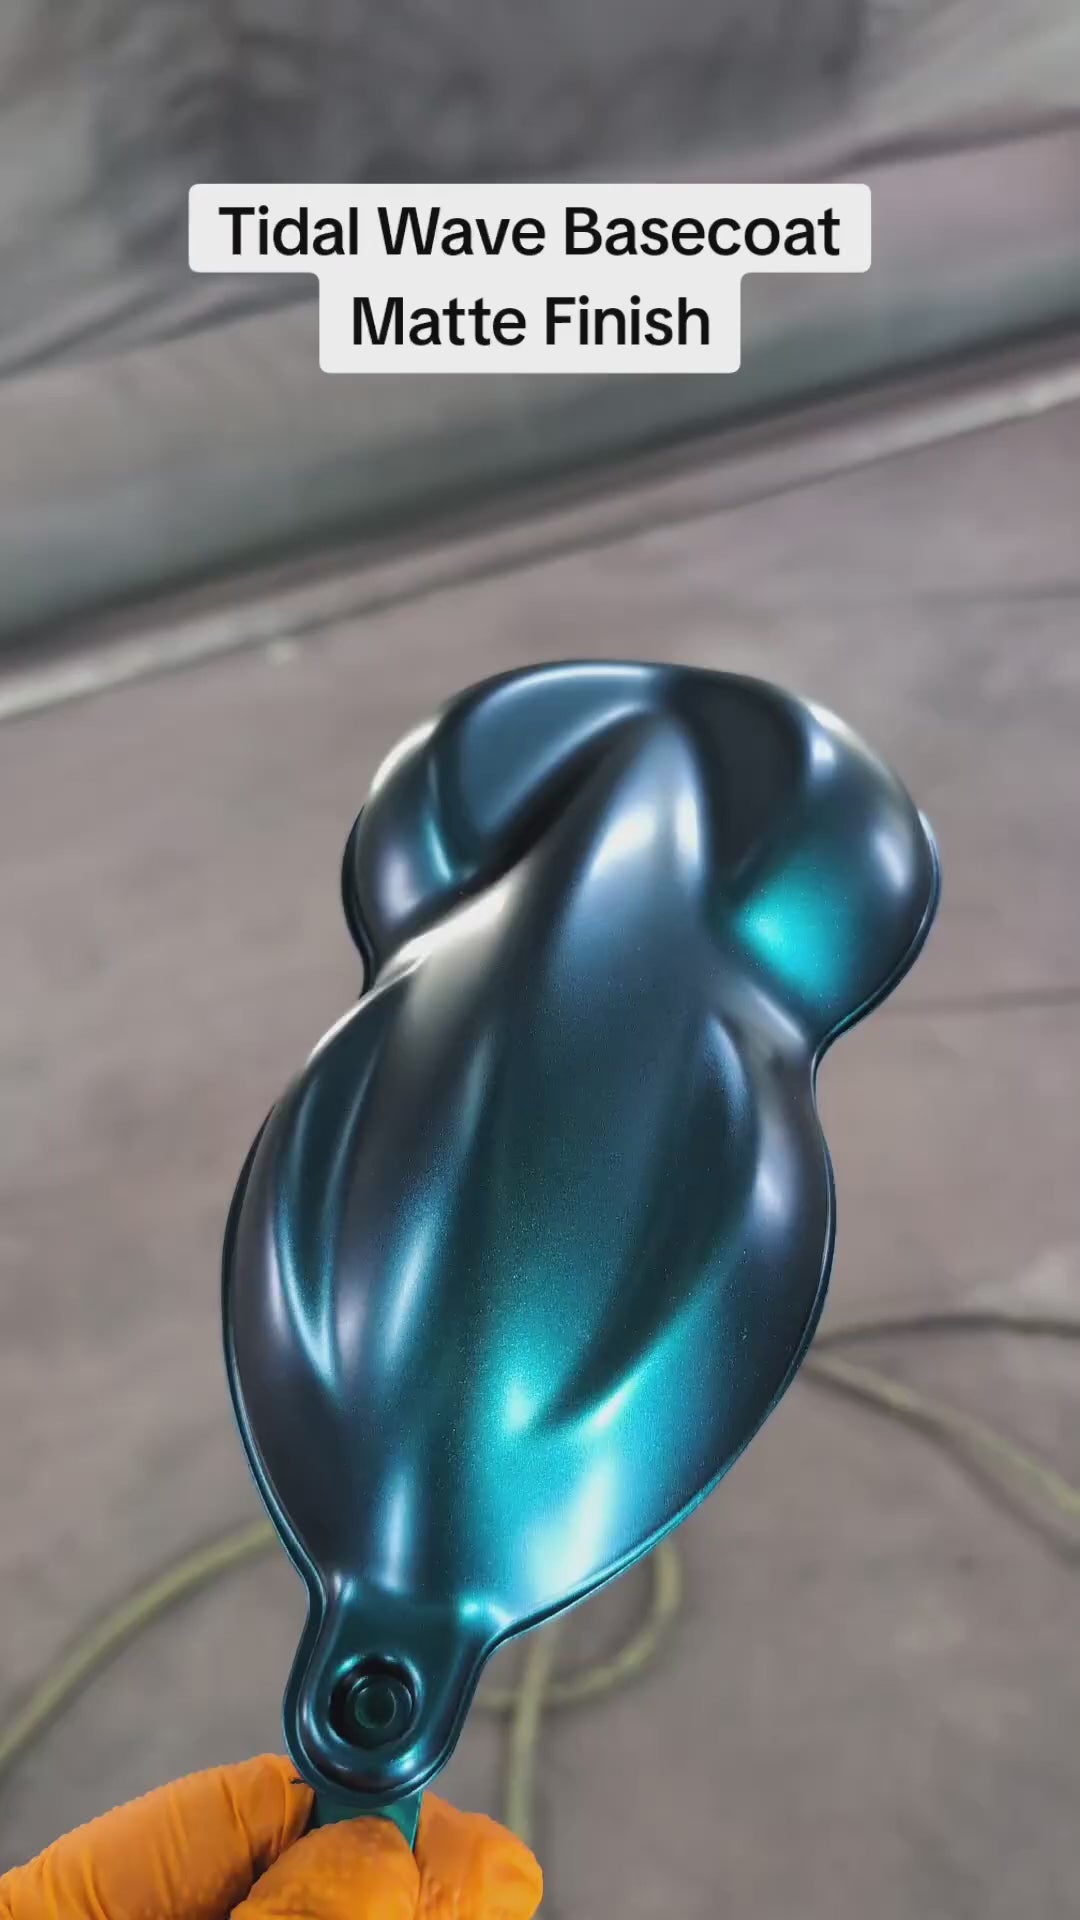
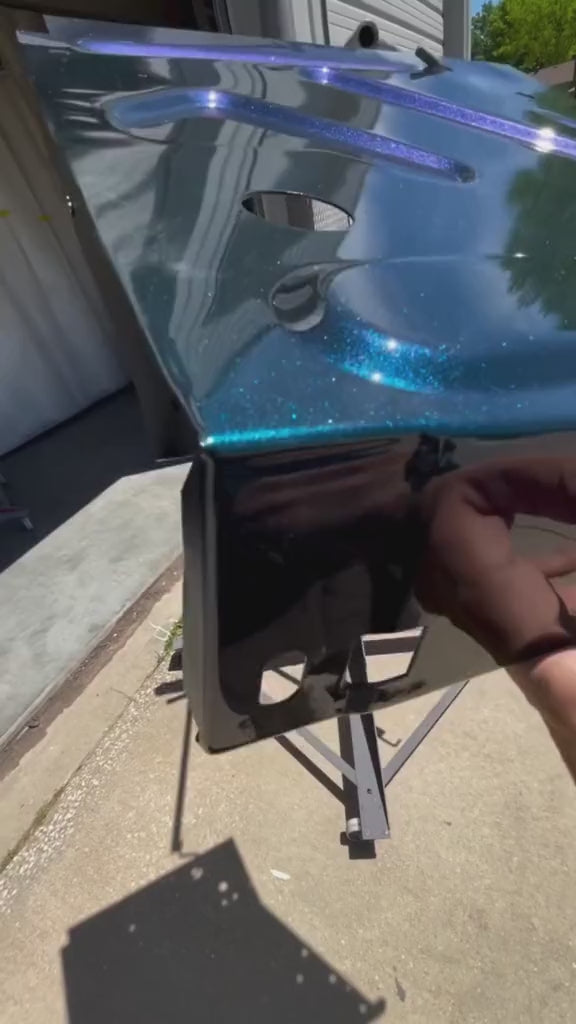
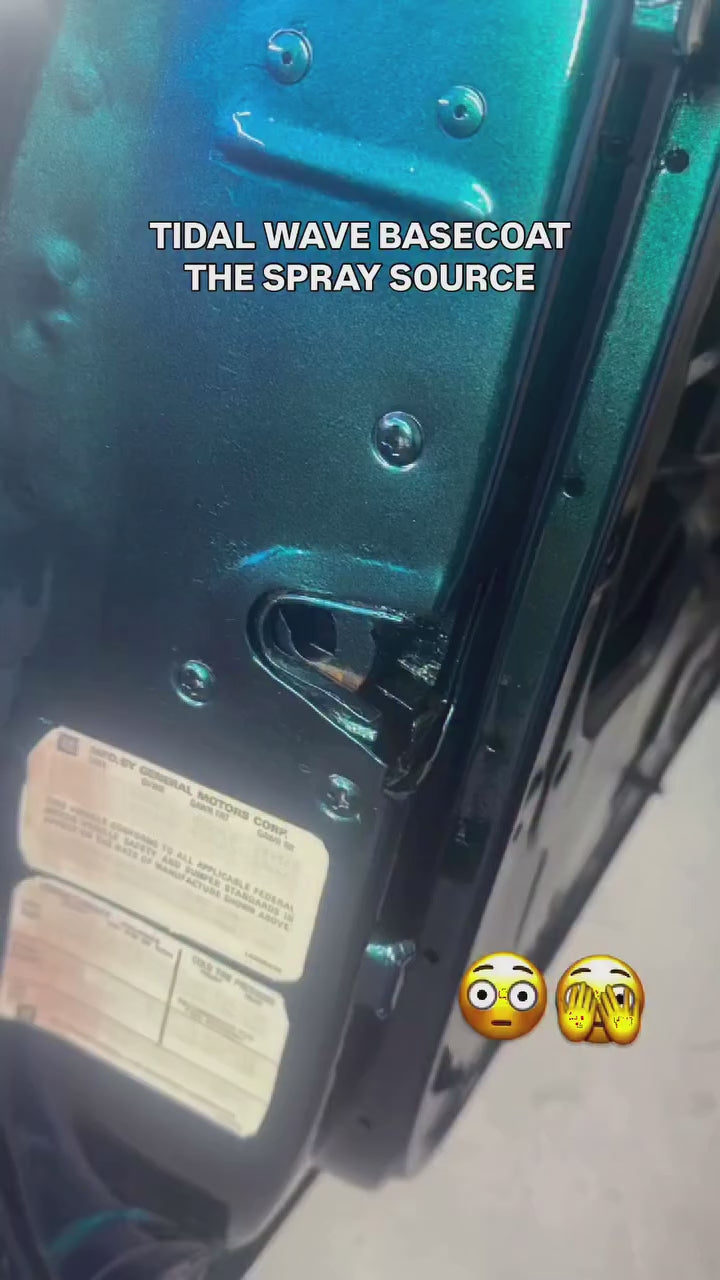


Tidal wave


Tidal Wave Spray Can
Your favorite pigments now in a spray can! Pre mixed and reduced, just shake it up and spray it over sealer or a properly prepped surface!
Best over a Black Basecoat ( if you need surface filling , Use Epoxy Primer & Sealer Spray Can 1k or sanded high build primer spray cans!)
This color is available in Automotive Paint & full vehicle paint kits as well.
This is a 1k basecoat and needs to be sprayed over the recommended Epoxy Sealer & topped with 2k HS Spray Can Clearcoat or any other 2k clearcoat.* These are Basecoat Midcoats ( 1k Midcoats ) Where the basecoat REALLY matters. We highly recommend sticking the basecoats we suggest above for best results. *
STEP 1 – CLEAN THE SURFACE
1 - Wash with soap and water, rinse, and dry completely.
2 - Degrease using wax and grease remover or isopropyl alcohol.
3 - Wipe dry with a clean, lint-free towel.
STEP 2 – SCUFF / SAND FOR ADHESION
If Raw Plastic / Polyurethane: Evenly scuff bare plastic or raw surfaces. These will also need to be adhesion promoted prior to paint using our WolfBite Adhesion promoter.
If Good Condition OEM Paint: Sand smooth or glossy paint with P320-P400 grit sand paper or Scuff Pad until uniformly dull with no glossy areas.
If Surface Needs Bodywork or heavy scratches removed: Sand the damaged areas with 180 grit (feathered out into the panel) then do your bodywork. Finish in 220 Grit sanding. Then spot prime with high build primer - fading the primer out into the rest of the sanded panel covering the bodywork and any 220 grit scratches. (the good condition areas of the panel should have been sanded in 320-400 or scuff pad). Lastly, after the high build primer is dry and ready to be sanded (check tds for timeline), sand with 320-400 to match the rest of the panel.
After The above prep: Remove dust with compressed air or a clean microfiber towel.
STEP 3 – FINAL WIPE & TACK
1 - Wipe the surface again with isopropyl alcohol or wax and grease remover.
2 - Allow solvents to fully evaporate.
3 - Lightly wipe with a tack cloth immediately before spraying. Do not press hard. (optional but great step)
STEP 4 – SET UP YOUR SPRAY AREA
1 - Use a well-ventilated, well-lit area with good extraction fans
2 - Ideal conditions are 65–75°F (18–24°C) with 40–60% relative humidity.
3 - Keep the area free of open flames, sparks, or ignition sources.
4 - Wet the floor if your space allows to keep dust down
5 - Cover any items or areas in your space that you do not want to get overspray on
STEP 5 – PERSONAL PROTECTION
1 - Wear a respirator rated for organic or solvent vapors.
2 - Use nitrile gloves and safety goggles.
3 - Wear a paint suit
STEP 6 – SHAKE THE CAN
1 - Shake vigorously for 45–60 seconds.
2 - Invert the can several times while shaking to fully mix pigments and metallics.
STEP 7 – TEST SPRAY
ALWAYS DO A TEST SPRAY + SPRAY OUT CARD IF DOING OEM SPOT JOBS
1 - Spray on cardboard or a scrap panel.
2 - Confirm even spray pattern, correct color, and proper atomization.
3 - Adjust the spray can's nozzle to match your spray style or surface.
4 - If the can is not operating correctly, remove the cap completely, reseat it on the can, and twise the entire nozzle 360 degrees. Since our cans are made to order, sometimes there is slight paint build up and reseating the nozzle corrects this.
STEP 8 – SPRAYING TECHNIQUE
1 - Hold the can 5–6 inches from the surface.
2 - Keep the can perpendicular, 90 degrees to the panel at all times.
3 - Move at a steady speed using smooth, even passes. You are looking for medium wet coats NOT super wet, pooling coats.
4 - Overlap each pass by 50 percent.
STEP 9 – TRIGGER CONTROL
1 - Begin moving before pulling the trigger. Start off of the panel then move onto the panel. This avoids build up on edges.
2 - Fully depress the trigger while spraying.
3 - Release the trigger completely at the end of each pass.
4 - Stop spraying after clearing the panel edge by an inch.
STEP 10 – COATS & FLASH TIMES
1k Primer/Sealer
1 - Spray a medium wet coat on the entire panel (if not blending oem paint) to achieve a 75% coverage. This fills in the sanding scratches as well as gives a uniform , required ground coat color for the next steps.
2- Allow to flash dry for 5-15 minutes. Time depends on the product and environment.
3 - Apply the second medium-wet coat to achieve full coverage
4 - Allow to dry for 30 minutes or until the wet look fades so a dull, even finish and is completely dry to the touch.
GROUNDCOATS or SOLID COLORS (BEFORE MIDCOATS IF APPLICABLE)
This is for our Base Black, OEM Undercoats or solid colored basecoats. Not all projects require this step.
1 - Apply the first medium-wet coat at approximately 75 percent coverage.
2 - Allow to flash 5-15 minutes or until the wet look fades so a dull, even finish. Time depends on the product and environment.
3 - Apply the second medium-wet coat to achieve full coverage
4 - Allow to flash 5-15 minutes or until the wet look fades so a dull, even finish. Time depends on the product and environment.
5 - Apply a Third medium wet coat if the color is not 100% covered and even at this point. This will vary based on the color and product being sprayed.
4 - Flash another 15-30 minutes. Until the surface is even, dull, an dry to the touch.
MIDCOAT , CUSTOM COLORS , OR METALLIC/ PEARL OEM
This is for coverage over required groundcoats , not "ghost effect"
1 - Apply medium coats over the required groundcoat for your color.
2 - Flash 5–15 minutes between coats or until tack-free.
3 - Apply additional coats until the desired color depth is achieved. Most custom and oem colors require 2-4 medium coats - check color description or compare to existing oem panels
4 - Apply 1 light "control" coat to make sure all of the pearl or metallic is even and not splotchy or "tiger striped"
5 - Wait 30 mins or 15 mins after the surface is completely dull and dry to the touch before moving on to topcoat step.
EFFECT PEARL / COLORSHIFT COAT
This is for effect over light groundcoats (not for coverage)
1 - Apply one light effect coat at approximately 25 percent coverage.
2 - Allow 5-15mins for the coat to flash before adding another light coat (if you want to add more effect)
Repeat as many times to your preference of effect and coverage.
3 - Wait 30 mins or 15 mins after the surface is completely dull and dry to the touch before moving on to topcoat step.
STEP 11 – CLEANUP & STORAGE
CAP CLEARING
1 - Turn the can upside down after spraying.
2 - Spray until only clear propellant comes out.
3 - This clears paint from the valve and prevents clogging.
NOZZLE CARE
1 - Remove the spray nozzle after use.
2 - Wipe clean with solvent.
3 - Do not soak the nozzle in solvent.
STORAGE
1 - Store cans upright in a cool, dry place.
2 - Keep away from direct sunlight.
3 - Avoid freezing conditions.
4 - Do not store above 120°F (49°C).
QUICK TROUBLESHOOTING
1 - Dry or rough texture means the can is too far away or moving too fast.
2 - Runs or sags mean the can is too close or moving too slowly.
3 - Continue to shake and agitate the can between coats- Repeat step 6
4 - If ever unsure the color is 100% covered (and you are going for coverage) - one extra coat is always a good idea.


Overall rating: 4.8 / 5 from 17 reviews.
Tidal wave

Loved it looks amazing

Color is out of this world. New to the product and testing on Lexan. First experience is amazing. Fb: @alexjordan Ig: mr.fnjordan

Very impressive color ! Will be using this on my 1965 Chevelle. Dan Munsch FB
Tidal Wave Painted Sample (Black Ground Coat)

Love the color, blue to green flop. Will look great on my 67 Camaro.
Great color 👌 😍
beautiful paint
Looks nice and sparkly
First order, everything went well, good pricing, fast shipping all good. Great selection.
Love your paint
Love the color experimenting with different base coats to enhance color. Great color and the kit cheat sheet is very helpful
Great color.
Tidal Wave Painted Sample (Black Ground Coat)
Bought a few samples to find the perfect color for me. Looks great love the color.
Tidal Wave Painted Sample (Black Ground Coat)
Can sprayed great. Easy to use. And gave me a chance to see the color tidal wave in person. Absolutely going to be painting my Sonoma this color.
Like the color, just not sure for my project. It is a 1953 Chevy truck, the body is not the straightest and afraid it will show. I probably need a lighter green.
Tidal Wave Painted Sample (Black Ground Coat)
Give a five star great delivery time. Good communication.
The Tidal Wave is a cool color but it's not really close to the images shown in most examples.
Tidal Wave Painted Sample (Black Ground Coat)

Everything you need to paint your mountain bike, road bike, or other!
High quality paints that give professional results to the DIY'er.

Everything you need to paint your motorcycle, car, SUV, or truck!
Just choose your color and answer 4 questions. We handle the rest!

This is the paint brand that Tommy, the owner of TSS started 10+ years ago. We now dont only offer custom colors but all the products metal up! Primers, reducers, basecoats, clearcoats and everything in between.